Everything you put on the canvas — artboards and frames, shapes, paths, text, images, icons, bones — and how you select, arrange and reuse it. If you haven't read The interface, start there: this chapter assumes you know where the tool strip, the layer tree and the right rail live.
01Artboards and frames
An artboard is the frame you design inside. Press A and drag to draw one, or just click for a default 800×600 frame. An artboard at the top level of the scene is a page: it is what you play, preview and export.
Draw an artboard inside a page and you get a frame — a card, a section, a button background. A frame clips its children, can take a fill, a stroke and rounded corners (it clips its children to those corners too), and can lay its children out with Layout. It plays as part of the page around it.
Anything you draw with its center inside an artboard automatically becomes part of that artboard — you'll see it nested under it in the layer tree. Layers moved over an artboard adopt it the same way, and a layer dragged out past its edge leaves it.
Two more ways to make a frame from what you already have:
- Frame selection (Ctrl+Alt+G) wraps the selection — even a single layer — in a frame. The children keep their pins; they are not scaled with the frame.
- Add auto layout (Shift+A) turns on Layout for a selected frame or group, or wraps the selection in a new one. Direction, gap, padding and alignment are read from how the layers are already arranged. See Layout & Cascade.
Groups and frames resize differently
- A group made with Ctrl+G scales its content when you resize it, like a group in other design tools.
- A frame keeps its content's size: each child follows its own pins (left and top by default, so it stays put; a child pinned right rides the right edge; a stretched one grows).
Contents in a group's Transform section switches between the two: Keep layout — children follow their pins and Scale content — like a group. See Responsive & Screens.
02Drawing shapes
Pick a tool, then drag to size the shape yourself — or just click to drop it at its default size. While dragging:
- Hold
Shiftto keep it square (or lock a line to 45° angles). - Hold
Altto grow it from the center instead of a corner. - The start point and the dragged corner snap to guides and to nearby edges, and land on whole pixels. Hold
Ctrlto draw without snapping.
The Shape button is a flyout — hover it to reach every shape. It shows the last one you used:
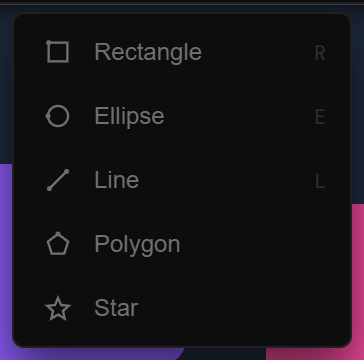
Line, Polygon and Star don't create special layer types — they create ordinary paths (a 6-sided polygon, a 5-point star) that you can immediately edit point by point.
After a shape is drawn the editor returns you to the Select tool, with the new layer selected and ready to adjust. Drawing a shape is one undo step.
03Selecting
Clicks
- Click a layer to select it. Inside a group, the first click selects the group.
- Double-click to go inside: the layer under the pointer is selected, and the group stays intact. Once you are inside, a single click selects a sibling at the same depth — no need to double-click again.
Ctrl+click (Cmd+click on Mac) selects the exact layer under the pointer, skipping groups. Click again on the same spot to cycle to the layer below.Shift+click adds a layer to the selection, or takes it out.- Right-click → Select layer ▸ lists every layer under the pointer, top to bottom.
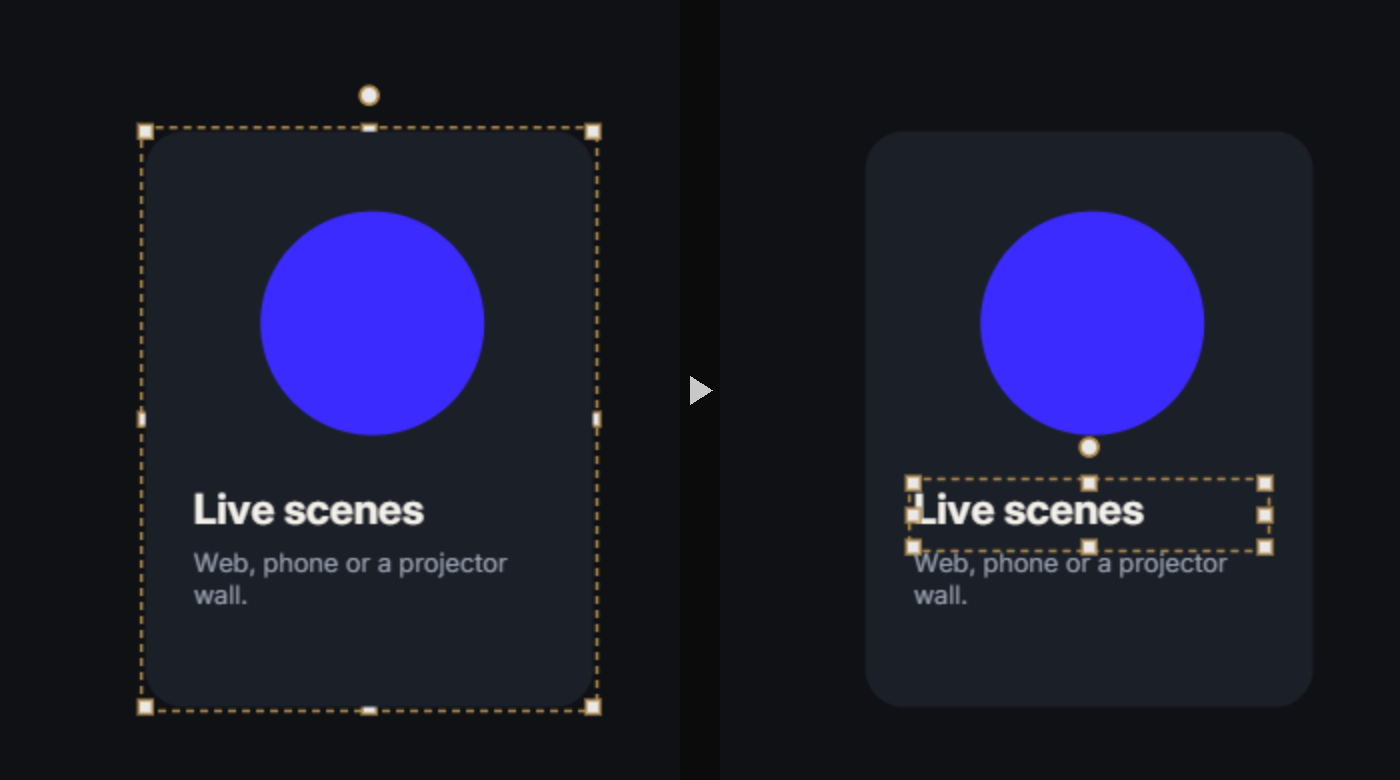
Hover tells you in advance: a thin outline and the name of the layer a click would pick follow the pointer.
A wrapper that covers its whole page — the outer container of an imported HTML page, for example — is not a stop: clicks go straight to what is inside it.
Keys
| Key | Does |
|---|---|
| Enter | Go into the selected group (selects its first child) — or edit the selected text |
| Shift+Enter | Select the parent |
| ] / [ | Next / previous sibling |
| Ctrl+A | Select all siblings in the current scope. Hidden and locked layers are left out |
| Esc | Narrow a multi-selection to one layer, then clear the selection |
Dragging a box
Drag on empty canvas to sweep a selection box. A frame or group is picked only when the box contains it completely; brushing its edge picks the layers inside it instead. Hold Ctrl to reach inside groups too.
On a page, the same drag starting on the page's own background sweeps its children — unless the page is already selected, in which case dragging it moves it.
04Moving, resizing, rotating
The transform handles
The selected layer gets design handles:
- Move: drag anywhere inside the shape — even the middle of a small button.
- Resize: drag one of the eight handles.
Shiftkeeps the proportions,Altresizes from the center. On a layer that is small on screen, the edge handles hide so they don't cover it; the corners stay. - Rotate: drag just outside a corner — the cursor turns into a rotate arrow.
Shiftsnaps to 15° steps. - Corner radius: rectangles and frames have a small inner handle near each corner. Drag one and all four corners round together (corners set one by one become equal again); hold
Altwhile dragging to round only that corner. - While moving, snapping pulls you to guides, nearby layers and layout grid columns — hold
Ctrlto suspend snapping for precise placement.
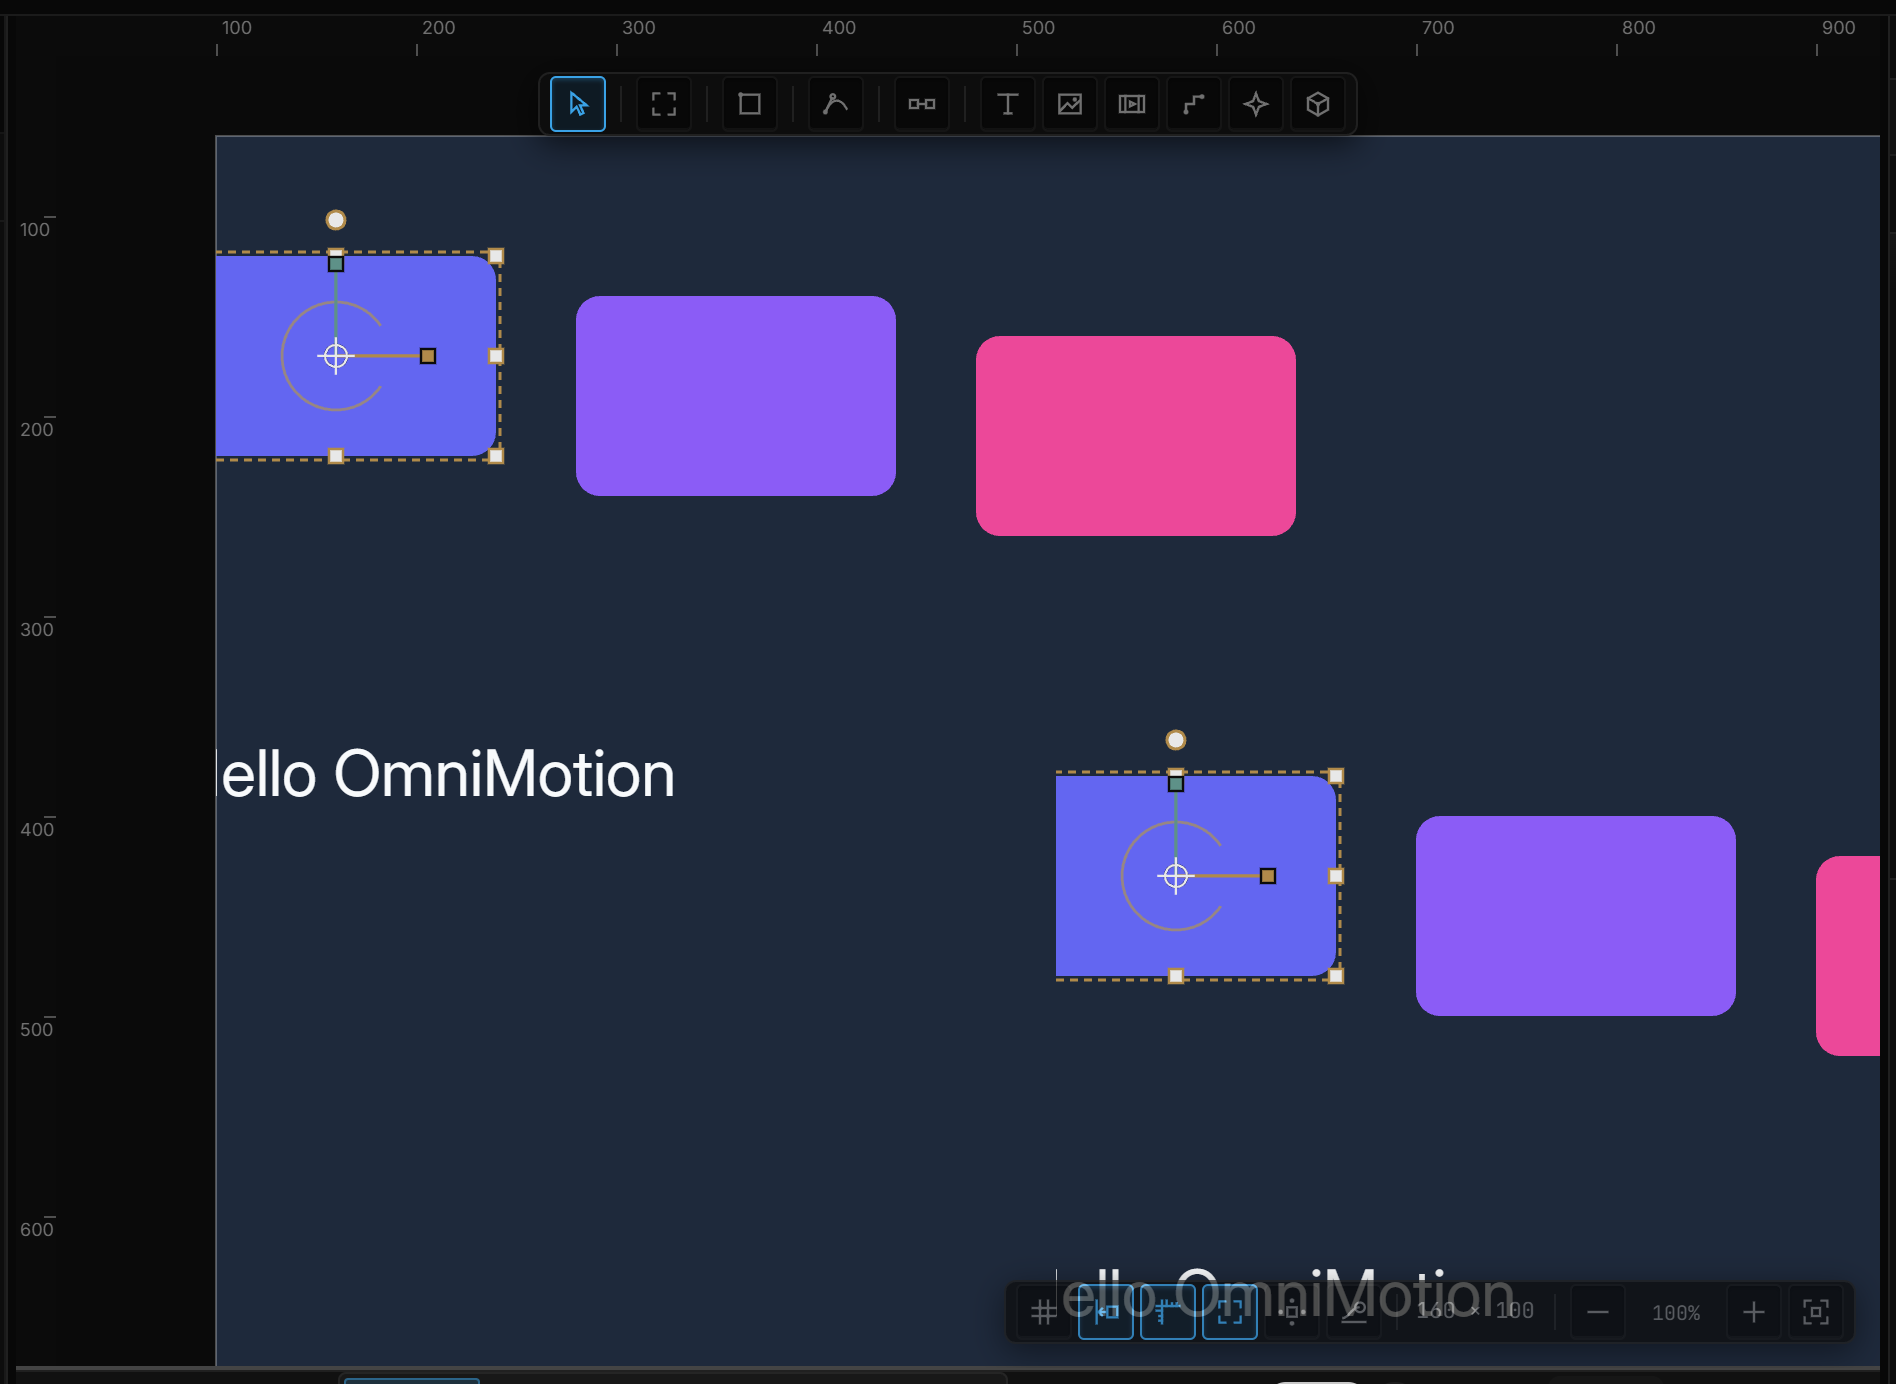
Motion handles in the view bar adds the animation tools on top: the pivot point (drag it anywhere; Shift snaps it to the 9 classic spots), the X / Y axis arrows (move on one axis only) and the rotation ring. With them on, the middle of the shape is the pivot, not a move. You can always set the pivot from Transform, whichever handles you use. The same switch is in Settings › Canvas.
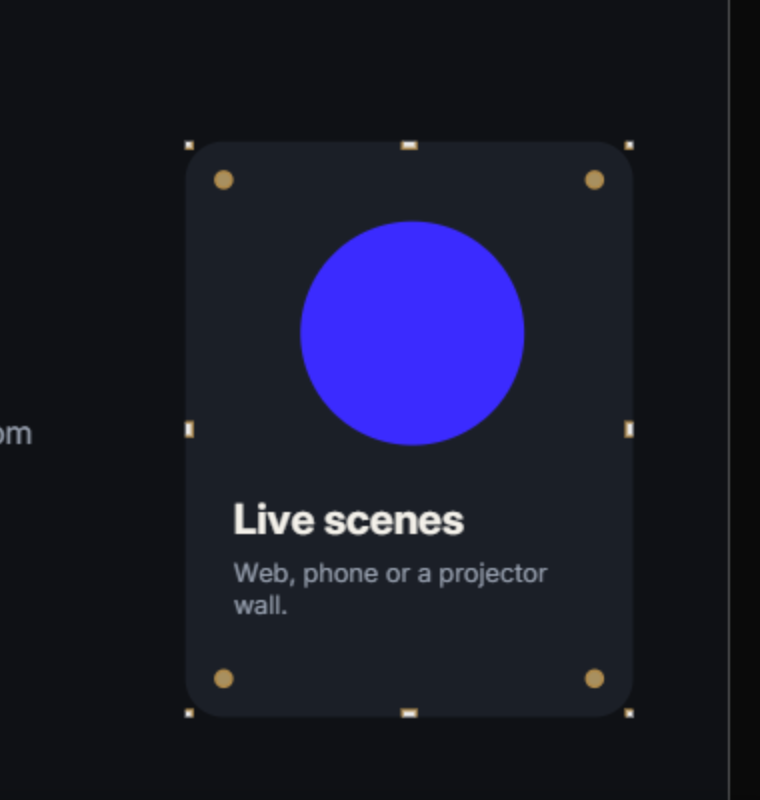
Flip a layer in place with Shift+H (horizontal) or Shift+V (vertical). Transform ▸ Rotate 90° right / left is in the right-click menu. Arrow keys nudge 1 px (Shift 10 px).
Resizing several layers at once
Select two or more layers and one box with eight handles wraps them all. Drag a handle and every layer's position and size follow the box — Shift keeps the proportions, Alt works from the center. Drag just outside a corner to rotate the whole selection around its center (Shift snaps to 15°). Each gesture is one undo step. Text boxes in the selection switch to a fixed size so they can follow.
The Scale tool
Resizing normally changes the box, not what's drawn in it: a text box gets wider, but the font stays the same size. Press K (or pick Scale next to Select) when you want the content to scale too — font size, letter spacing, strokes, dashes, corner radius, shadows, blur, path points, children, and a layout's gap and padding. The proportions are always locked. V or Esc goes back to Select.
Measuring
Select a layer, hold Alt and point at another layer: orange guides show the distances between them. Point at empty space inside a frame and you see the four distances to the frame's edges. Let go of Alt and they disappear.
05Align, distribute and tidy
Select one or more layers and the right half of the tool strip shows the arrange group — a count, a Selection / Parent target, then the buttons:
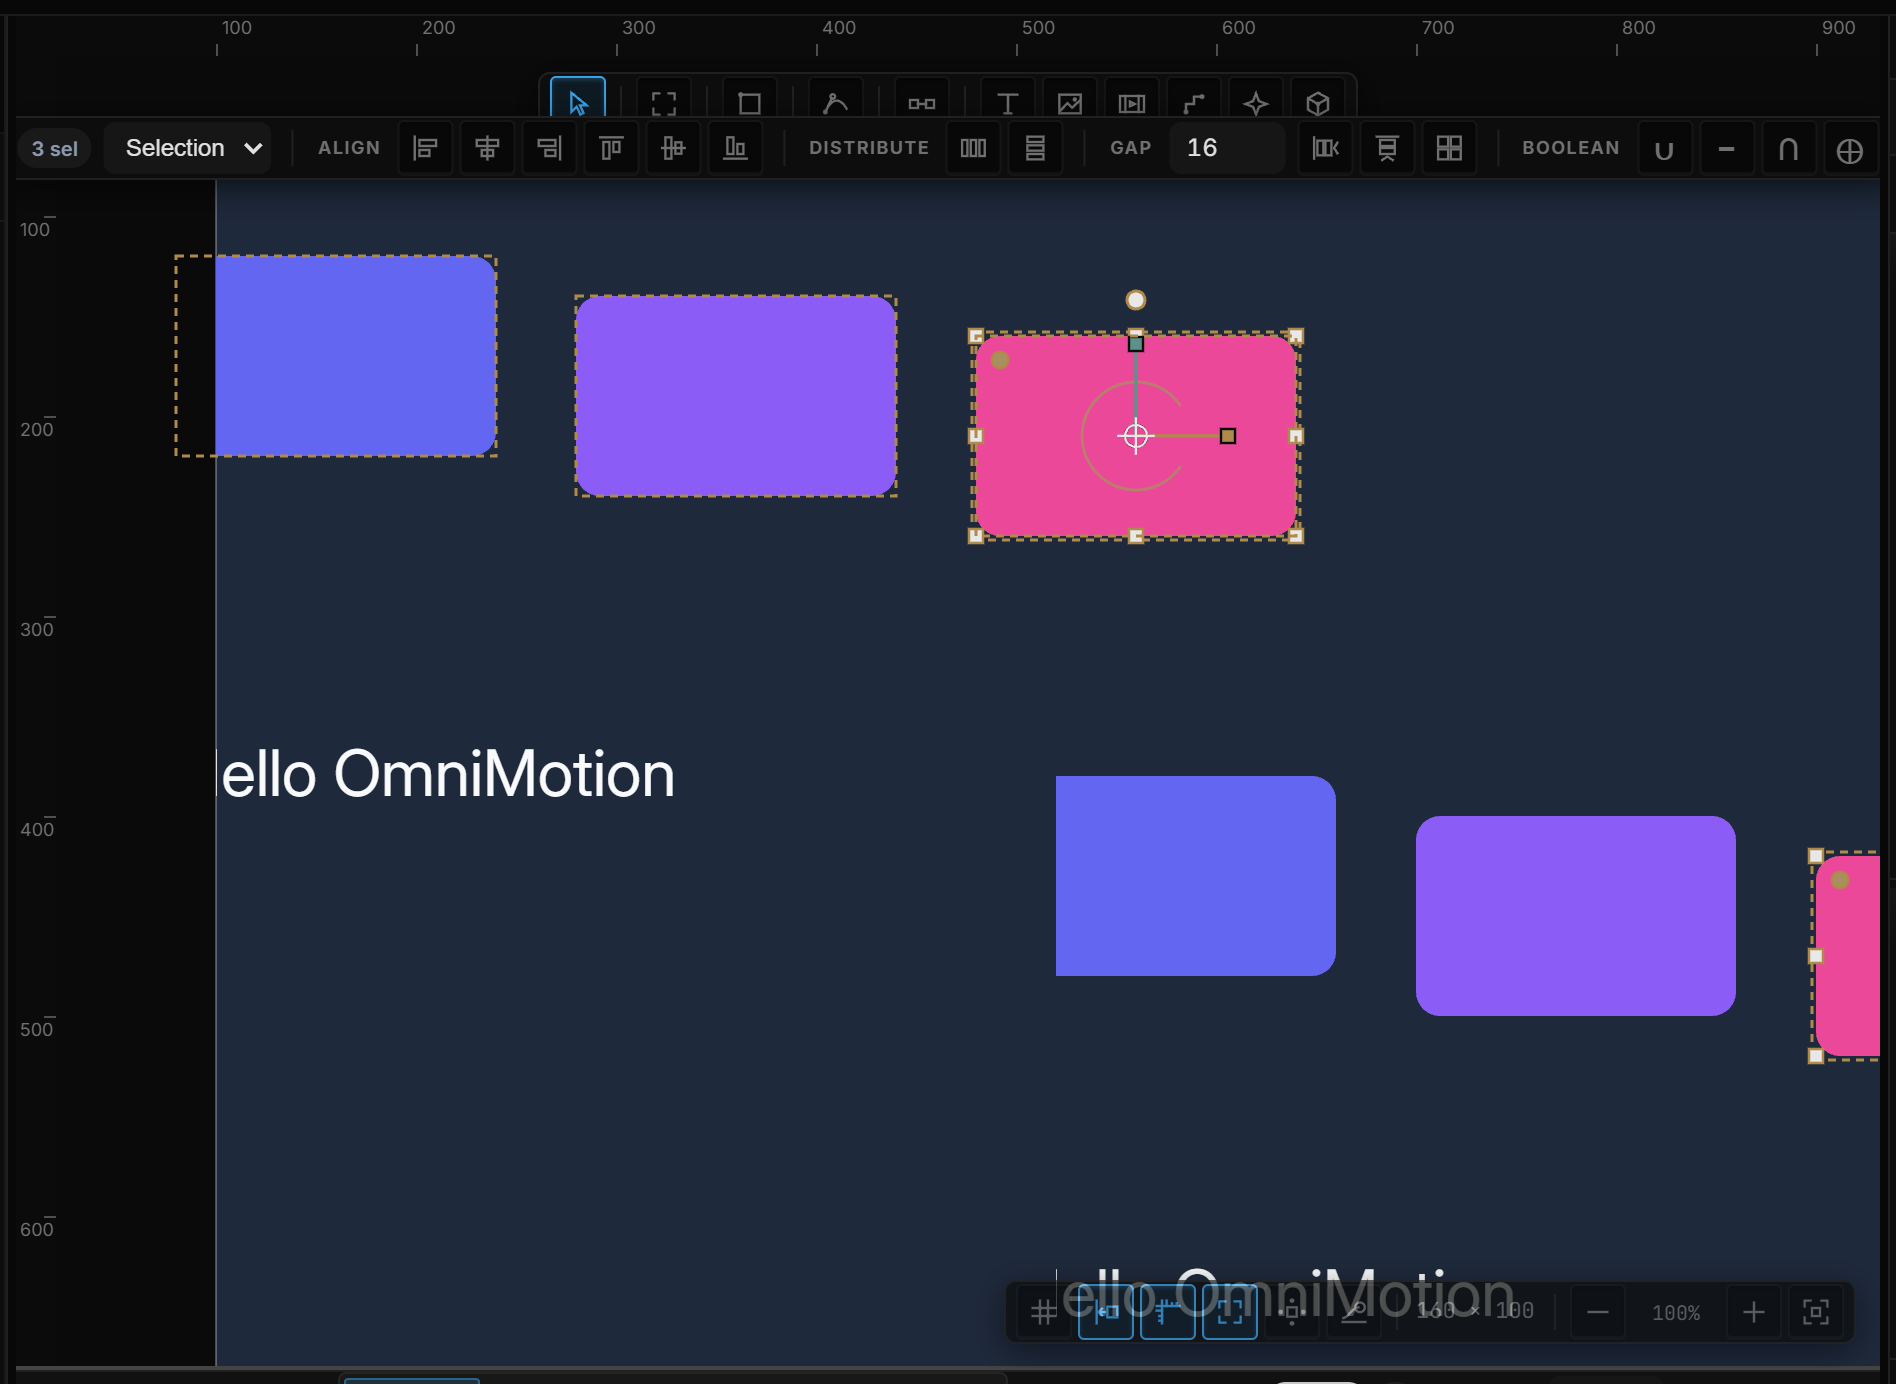
| Group | Needs | What it does |
|---|---|---|
| Align | 1+ | Left, center, right, top, middle, bottom — against the Selection box, or the Parent |
| Distribute | 3+ | Even spacing on X or Y. Dim until you have three |
| Gap | 2+ | A spacing in px, then Pack horizontal, Pack vertical, or Tidy up (a grid in reading order) |
| Boolean | 2+ | Combine into one path — see below |
Select a single layer inside a frame or group and the strip reads to frame: the six align buttons place it against its parent.
From the keyboard: Alt+A left, Alt+H horizontal centers, Alt+D right, Alt+W top, Alt+V vertical centers, Alt+S bottom. The same are under Align ▸ in the right-click menu, with Distribute horizontally and Distribute vertically.
When a frame and its children are both selected, only the frame moves — children never shift twice.
Boolean
Four operations, selection order: the first layer you picked is A; each next layer is folded in. The result is a new path and becomes the selection.
| Button | Tooltip | Result |
|---|---|---|
| ∪ | Union (combine) | One outline around everything |
| − | Subtract (A−B) | A minus the others |
| ∩ | Intersect | Only the overlap |
| ⊕ | Exclude (XOR) | Overlaps cut out |
Ctrl+Z is the whole fold, not one pair. Rectangles and ellipses convert to paths as part of the operation.
06Copy, paste and duplicate
- Duplicate (Ctrl+D) places the copy right on top of the original. Move it and press Ctrl+D again: the next copy keeps the same step, so a row of evenly spaced cards is a few keystrokes.
Alt+drag a selected layer to drag out a copy. Copy and move are one undo step.- Paste (Ctrl+V) goes into the selected frame or group; with an ordinary layer selected it lands beside it; with nothing selected, at the pointer. If the pointer is outside the target frame, the copy lands in the frame's middle so it isn't clipped out of sight.
- Paste in place (Ctrl+Shift+V) puts the copy exactly where the original was on the canvas.
- Copying a frame together with some of its children copies each layer once.
Copy properties
Copy properties (Ctrl+Alt+C) takes a layer's look: fill (color, gradient or none), stroke (color, width, align, dash, cap and join), corners, opacity, blend, shadows, layer and background blur — and, between text layers, the typography and alignment. Paste properties (Ctrl+Alt+V) applies it to the whole selection in one step. Position, size and content are never pasted. Both are also in the right-click menu under Copy / Paste as ▸, next to Copy as PNG (2x, shadows included) and Copy as SVG.
07Editing shapes and paths
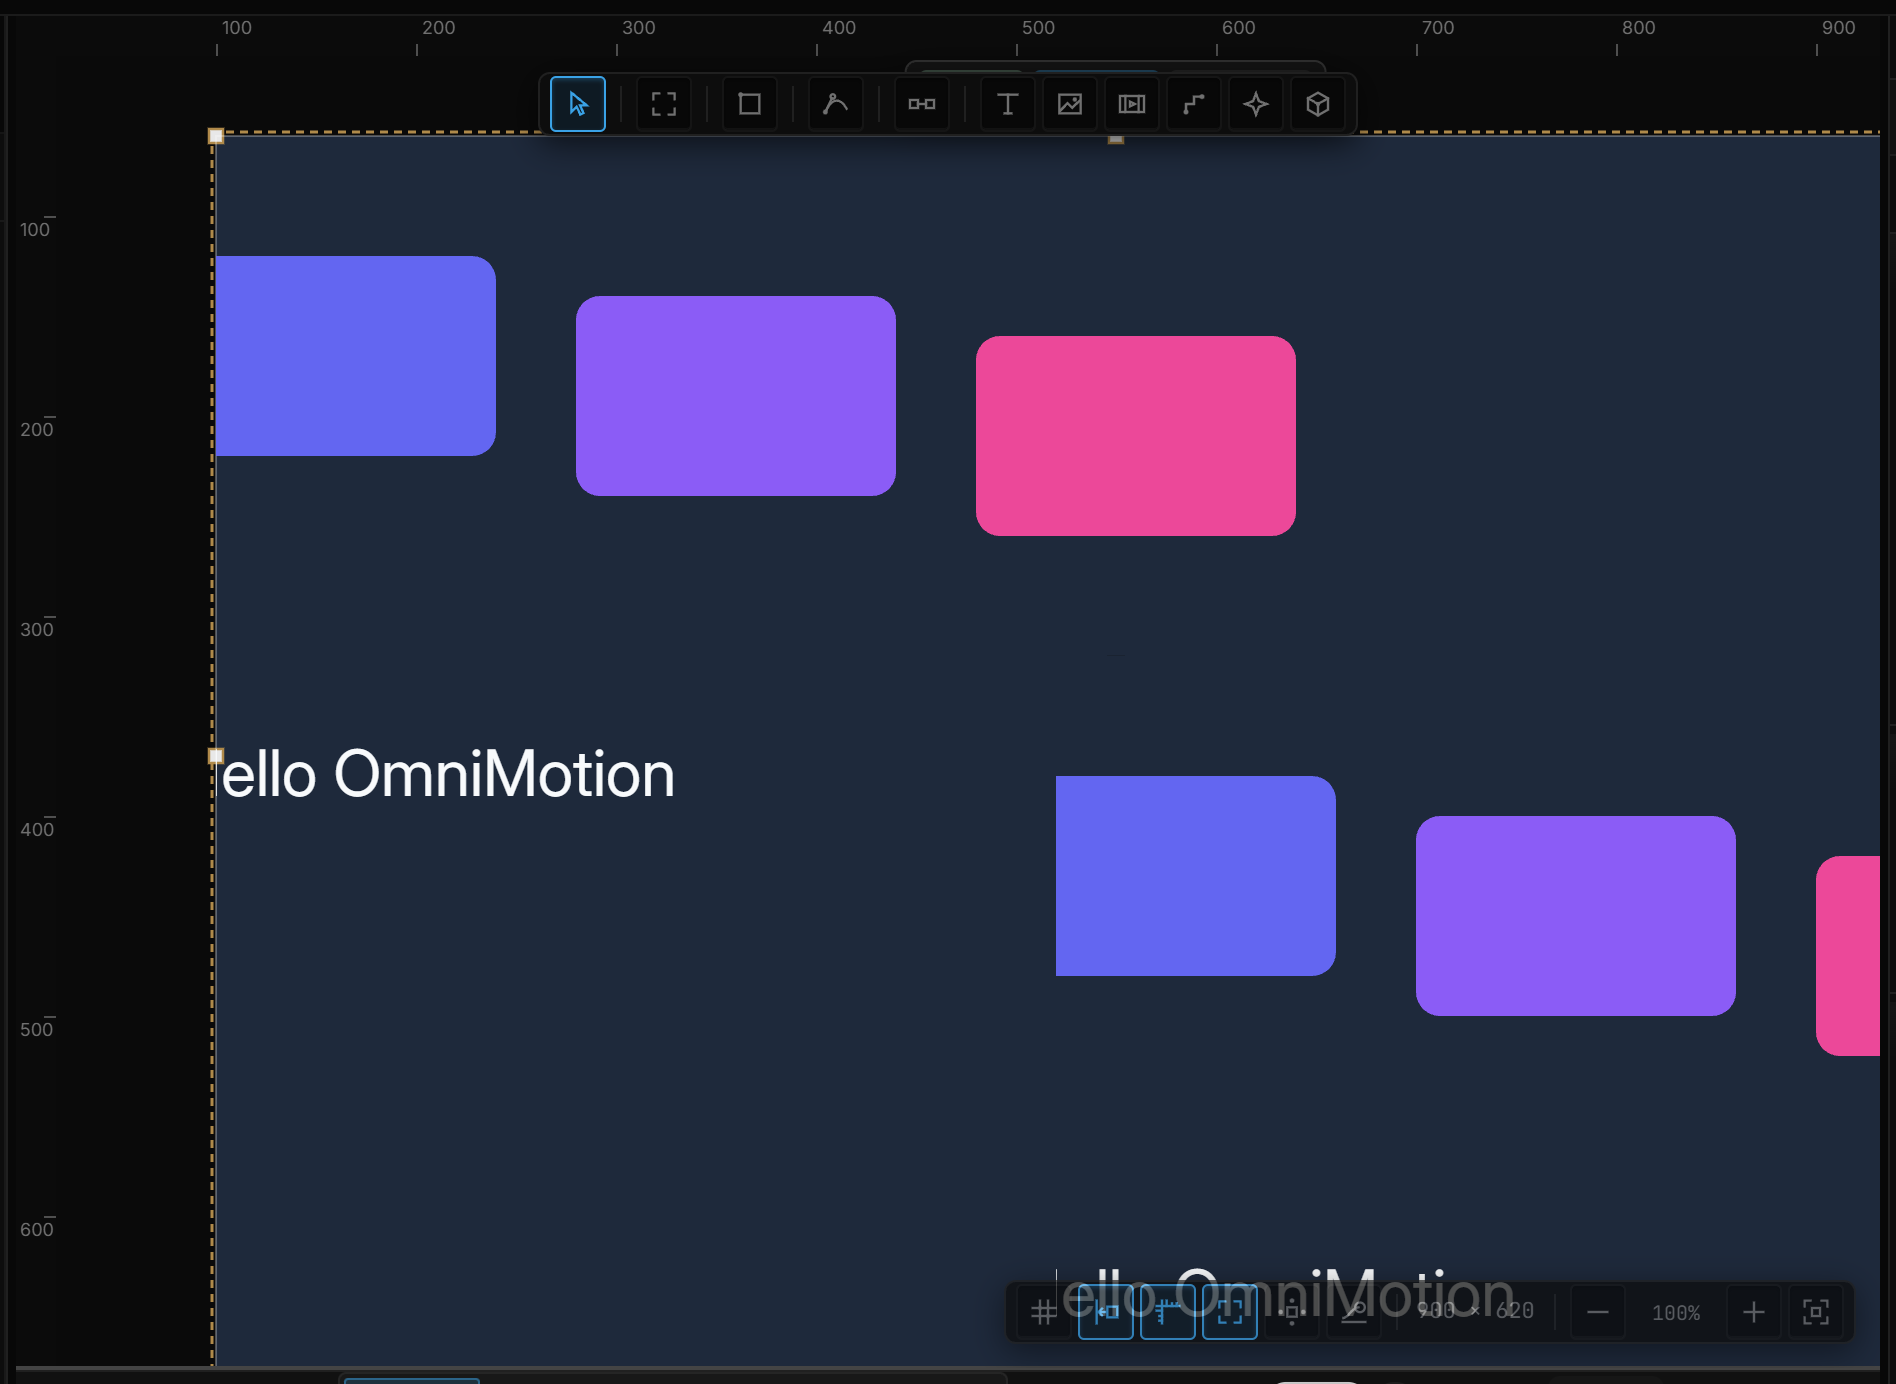
Double-click any rectangle or ellipse and it becomes an editable path, opening straight into path editing — one gesture, no separate "convert" step. A banner reminds you where you are; Esc leaves the mode.
In path editing:
- Drag nodes to reshape. Click a node to select it;
Shift+click or drag a box around nodes to select several and move them together. - Double-click a node to toggle it between a sharp corner and a smooth curve.
Alt+drag a corner node to pull out new curve handles.- Simplify (in the banner) reduces noisy paths to fewer points.
The Pen
Press P (or pick Pen in the Shape flyout) to draw paths from scratch:
- Click places a corner point.
- Click and drag places a smooth point and pulls out symmetric handles.
Altwhile dragging makes the two handles independent;Shift+Altkeeps their angle but frees the lengths.Shiftlocks the new segment to 45° angles.- Click the first point to close the shape, or press Esc/Enter to leave it open.
08Text
Press T, then either click (the box grows as you type) or drag a box (you set the width, text wraps and the height follows). Either way you're immediately in typing mode — no extra click:
- Double-click any text later to edit it — the word under the cursor comes selected.
- All the text keys you expect work: arrows, Home/End,
Ctrl+arrowsto jump words,Shiftto extend the selection, Ctrl+A, Ctrl+Backspace. - Style part of the text: select a word and press Ctrl+B (bold), Ctrl+I (italic), Ctrl+U (underline) or Ctrl+Shift+X (strikethrough). With nothing selected, the key applies to the whole text. The Selection row in Properties does the same and adds weight and color. New letters take the style of the letter to their left.
- Characters typed with
AltGr(@,{,€, [ on many keyboards) andOptionon a Mac are typed as text, never read as shortcuts. - While you're typing, editor shortcuts are off — Delete deletes a character, never your layer.
- Esc finishes editing. The whole typing session is one undo step.
In the layer tree, a text layer whose name you never changed shows its words, so Start free trial reads as Start free trial, not text-4.
Typography — fonts, weights, paragraph spacing, text styles — is in Properties & styling. Letter-by-letter motion — Animate, Fx, presets, Anim — is Text animation.
09Images, icons and the Files tab
Three ways to get an image in:
- Paste it — an image (or an image URL) on your clipboard, pasted over the canvas, becomes an image layer at your cursor.
- Drop a file onto the canvas.
- The Files tab (left panel) — your asset library. Add files by picking, dragging in, or pasting a URL; then drag any card straight onto the canvas.
Everything you add lands in the library either way, so the same image can be reused anywhere. The full story is Images & video.
Icons is the second face of the Files tab: search icons from open sets (Lucide, Tabler, Phosphor, Heroicons, Radix, Ionicons, Bootstrap, Material Symbols), then click one to place it in the middle of the current artboard, or drag it onto the canvas. The icon arrives as ordinary vector paths you can recolor and edit — nothing is fetched when the scene plays.
10Bones — rigging for animation
Bones let a drawing bend and move like it has a skeleton. Press B:
- Click to place a bone, keep clicking to grow the chain — each click adds a joint. Dragging draws a bone directly.
Shiftlocks the angle to 15° steps — or starts a new root instead of chaining.- Esc (or V) finishes the session. The Bone tool deliberately stays active between bones, unlike the shape tools.
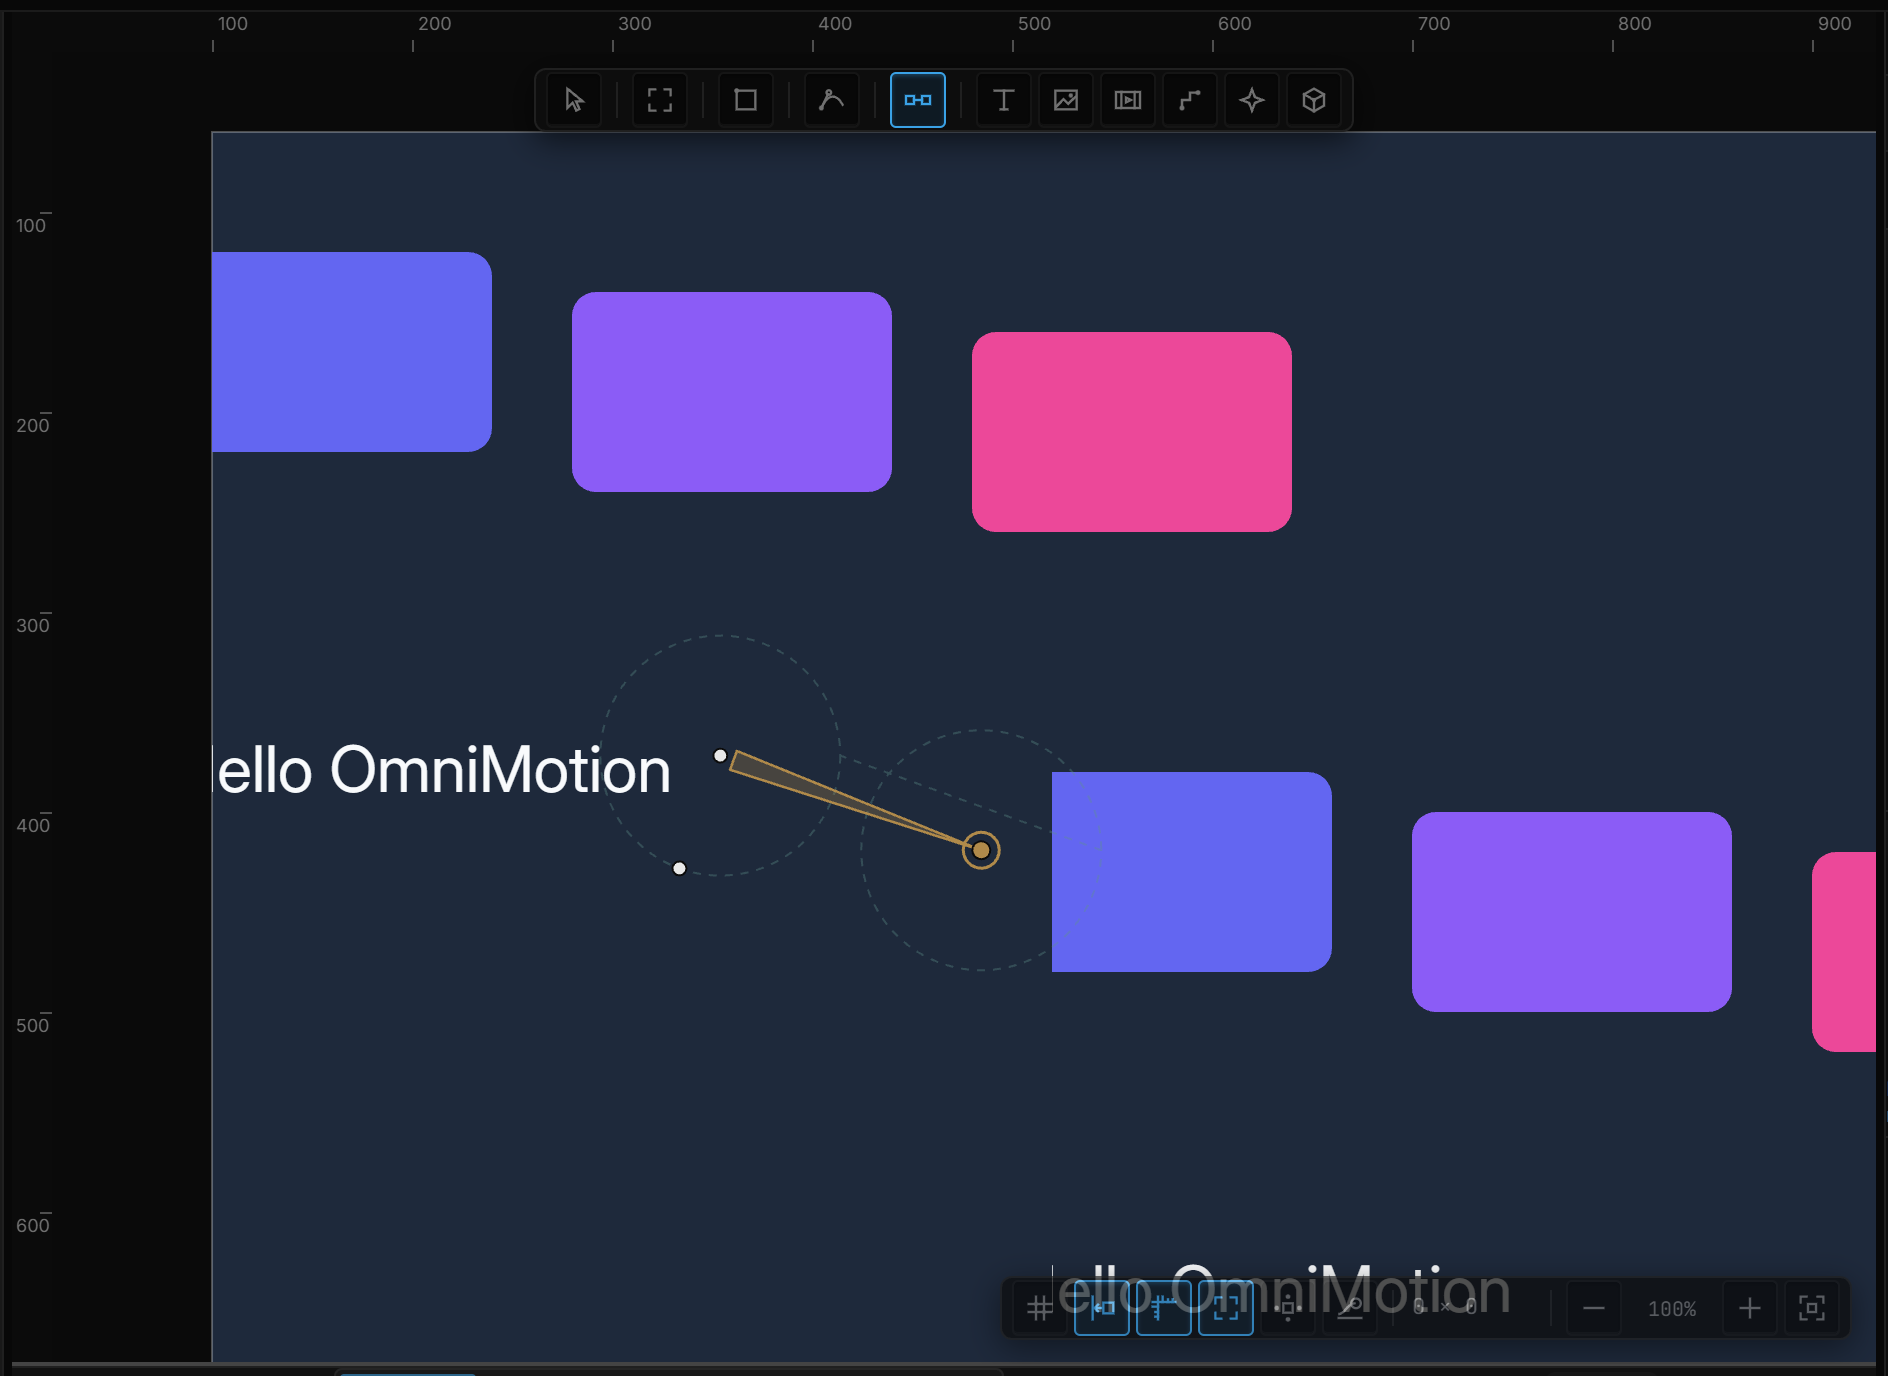
Draw bones over your artwork and the covered layers bind to the skeleton automatically. Right-click Add › Rig drops a bone, chains, joins, or attaches without the tool. The Bone and Deform sections — influence, binding, IK at the tip — are Bones & deform.
11The layer tree — organizing your scene
The Layers tab is the scene's table of contents. The layer in front is at the top. Drop a layer onto a group or frame to nest it, or near a row's top/bottom edge to reorder; drag any row of a multi-selection to move them all. Invalid drops simply do nothing. With the tree focused, the arrow keys walk it and Enter renames — see The interface.
Right-click a layer — on the canvas or in the tree, it's the same menu:
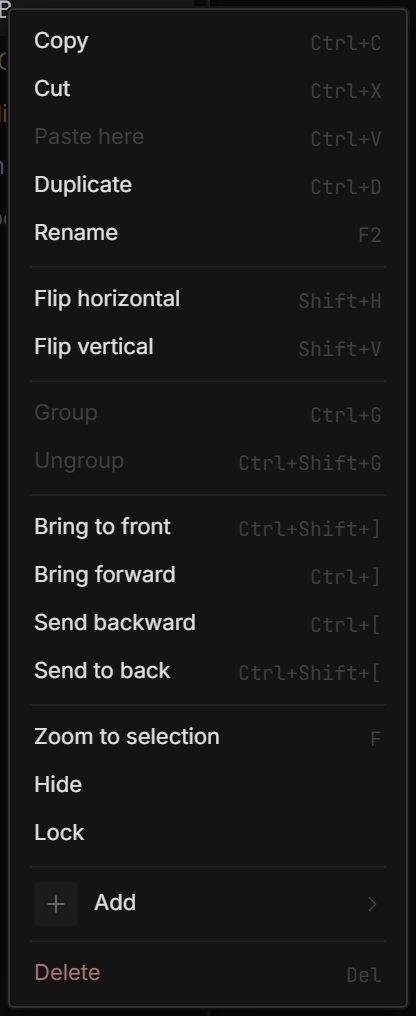
The essentials (every one shows its shortcut in the menu):
- Copy / Cut / Paste here / Paste in place / Duplicate — see Copy, paste and duplicate.
- Rename (F2 or double-click the name), Zoom to selection (Shift+2, or F).
- Group selection (Ctrl+G, needs 2+ selected), Frame selection (Ctrl+Alt+G), Add auto layout (Shift+A), Ungroup (Ctrl+Shift+G).
- Arrange ▸ — bring forward/back with Ctrl+] / Ctrl+[ (add
Shiftfor all the way). Artboards always stay at the back. - Hide / Lock (Ctrl+Shift+H / Ctrl+Shift+L) — also the eye/padlock on a hovered tree row. Visibility ▸ hides or locks everything else, or shows and unlocks all.
- Add — the same catalog as + Add in Properties (Look, Motion, Repeat, Layout, Interact), then Mesh here / Light here if a 3D scene is in context, and Rig. The full list is Capabilities.
- Delete — a toast confirms what was deleted, with an Undo button.
12Components — design once, reuse everywhere
Select anything — a card, a button, several layers — and press Ctrl+Alt+K (or Create component in the right-click menu). It becomes a main component right where it is. Copy it with Alt+drag, Ctrl+D or copy-paste and you get instances that follow every change to the main one. Instances, overrides, swapping and restoring a deleted main component are all in Components.
13Moving around the canvas
| Gesture | Does |
|---|---|
| Space + drag, or middle-mouse drag | Pan |
| Mouse wheel | Pan vertically |
Shift + wheel | Pan horizontally |
Ctrl + wheel | Zoom at the cursor |
| Shift+1 | Fit everything in view |
| Shift+2 or F | Zoom to the selected layer |
| Ctrl+0 | Back to 100% |
14Shortcut recap
| Create | A artboard · R rect · E ellipse · L line · P pen · T text · B bone · I image · M map · 3 3D · Shift+E effect |
| While drawing | Shift square/45° · Alt from center · Ctrl no snap |
| Select | click = group · double-click = inside / edit path / edit text · Ctrl+click = exact layer, again = next below · Shift+click add/remove · Enter / Shift+Enter in / out · ] [ siblings · Ctrl+A all siblings · drag = sweep (Ctrl inside groups) |
| Transform | K scale tool · Shift ratio / 15° · Alt from center · Ctrl no snap · Alt hold = measure · Shift+H/V flip · arrows nudge (Shift ×10) |
| Align | Alt+A/H/D left / centers / right · Alt+W/V/S top / middles / bottom |
| Copy | Ctrl+D duplicate (repeats the step) · Alt+drag copy · Ctrl+V into the selected frame · Ctrl+Shift+V in place · Ctrl+Alt+C/V copy / paste properties |
| Organize | Ctrl+G group · Ctrl+Alt+G frame · Shift+A auto layout · Ctrl+Alt+K component · Ctrl+[/] reorder · F2 rename · Del delete |
| Text | Ctrl+B/I/U bold / italic / underline · Ctrl+Shift+X strikethrough · Esc done |