2D and 3D. Part of the same idea.
Turn 2D layers into live 3D textures. Explore Harmony refraction, projected light, models, clones and interactive fields.
Start here: Scene & cameraScene & camera
Build a 3D scene and choose how the camera sees it. Work with meshes, models and 3D text, using focus mode and navigation to inspect the composition.
Materials, light & live 2D
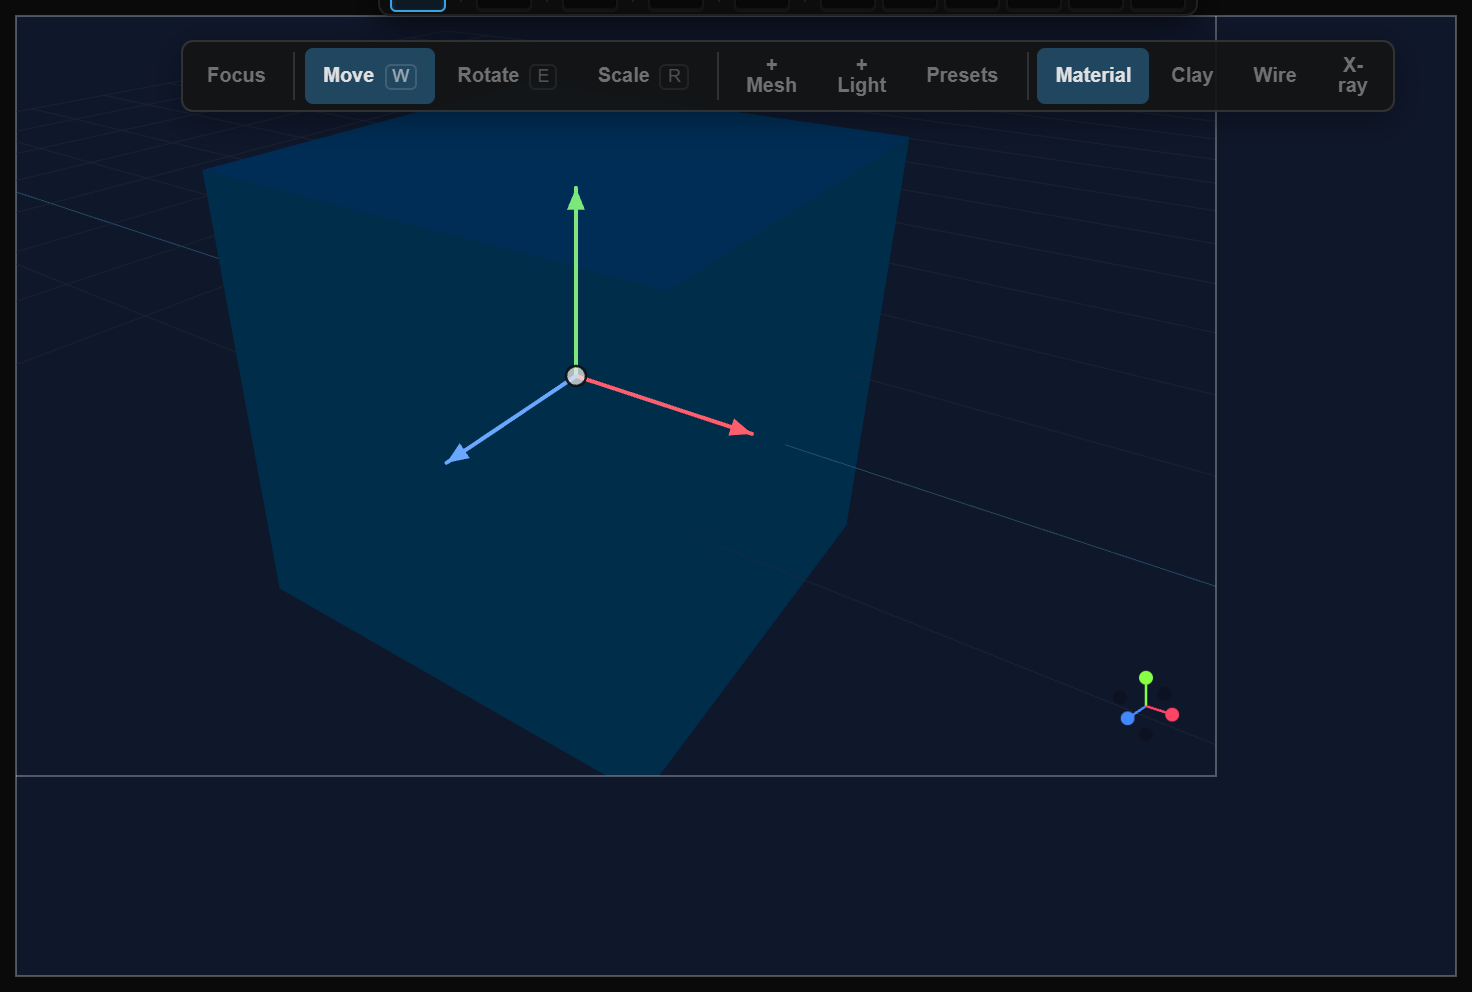
Define a surface with materials and textures, then shape its appearance through lights and the environment. Refine these properties as part of the scene.
Live 2D textures
Choose any 2D layer or artboard as a material texture and set its refresh rate. A rate of zero freezes the capture; a positive rate keeps updating the surface.
Set up a layer textureHarmony: glass meets 2D
With Harmony enabled, 3D glass and transmissive materials can refract the 2D layers behind the scene. It captures that background every frame, so the added work depends on your composition.
Explore Harmony and environment settingsProject through a light
Use an image, a video or a document layer as a spotlight projection source and aim it at a 3D surface.
See spotlight projection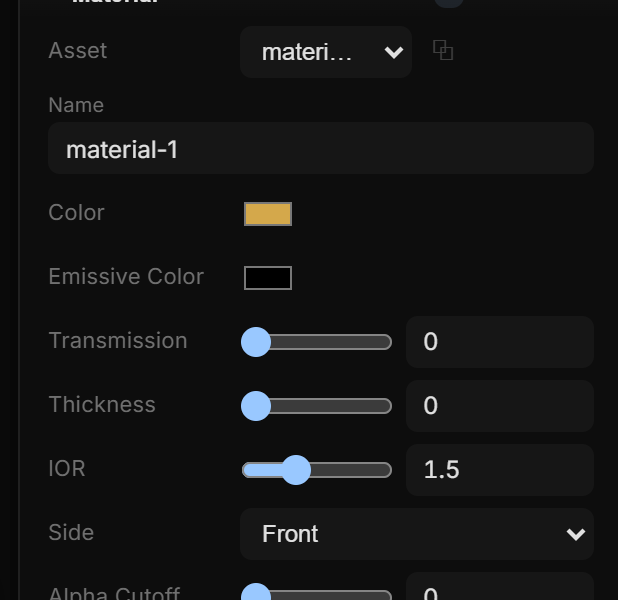
Clones & fields
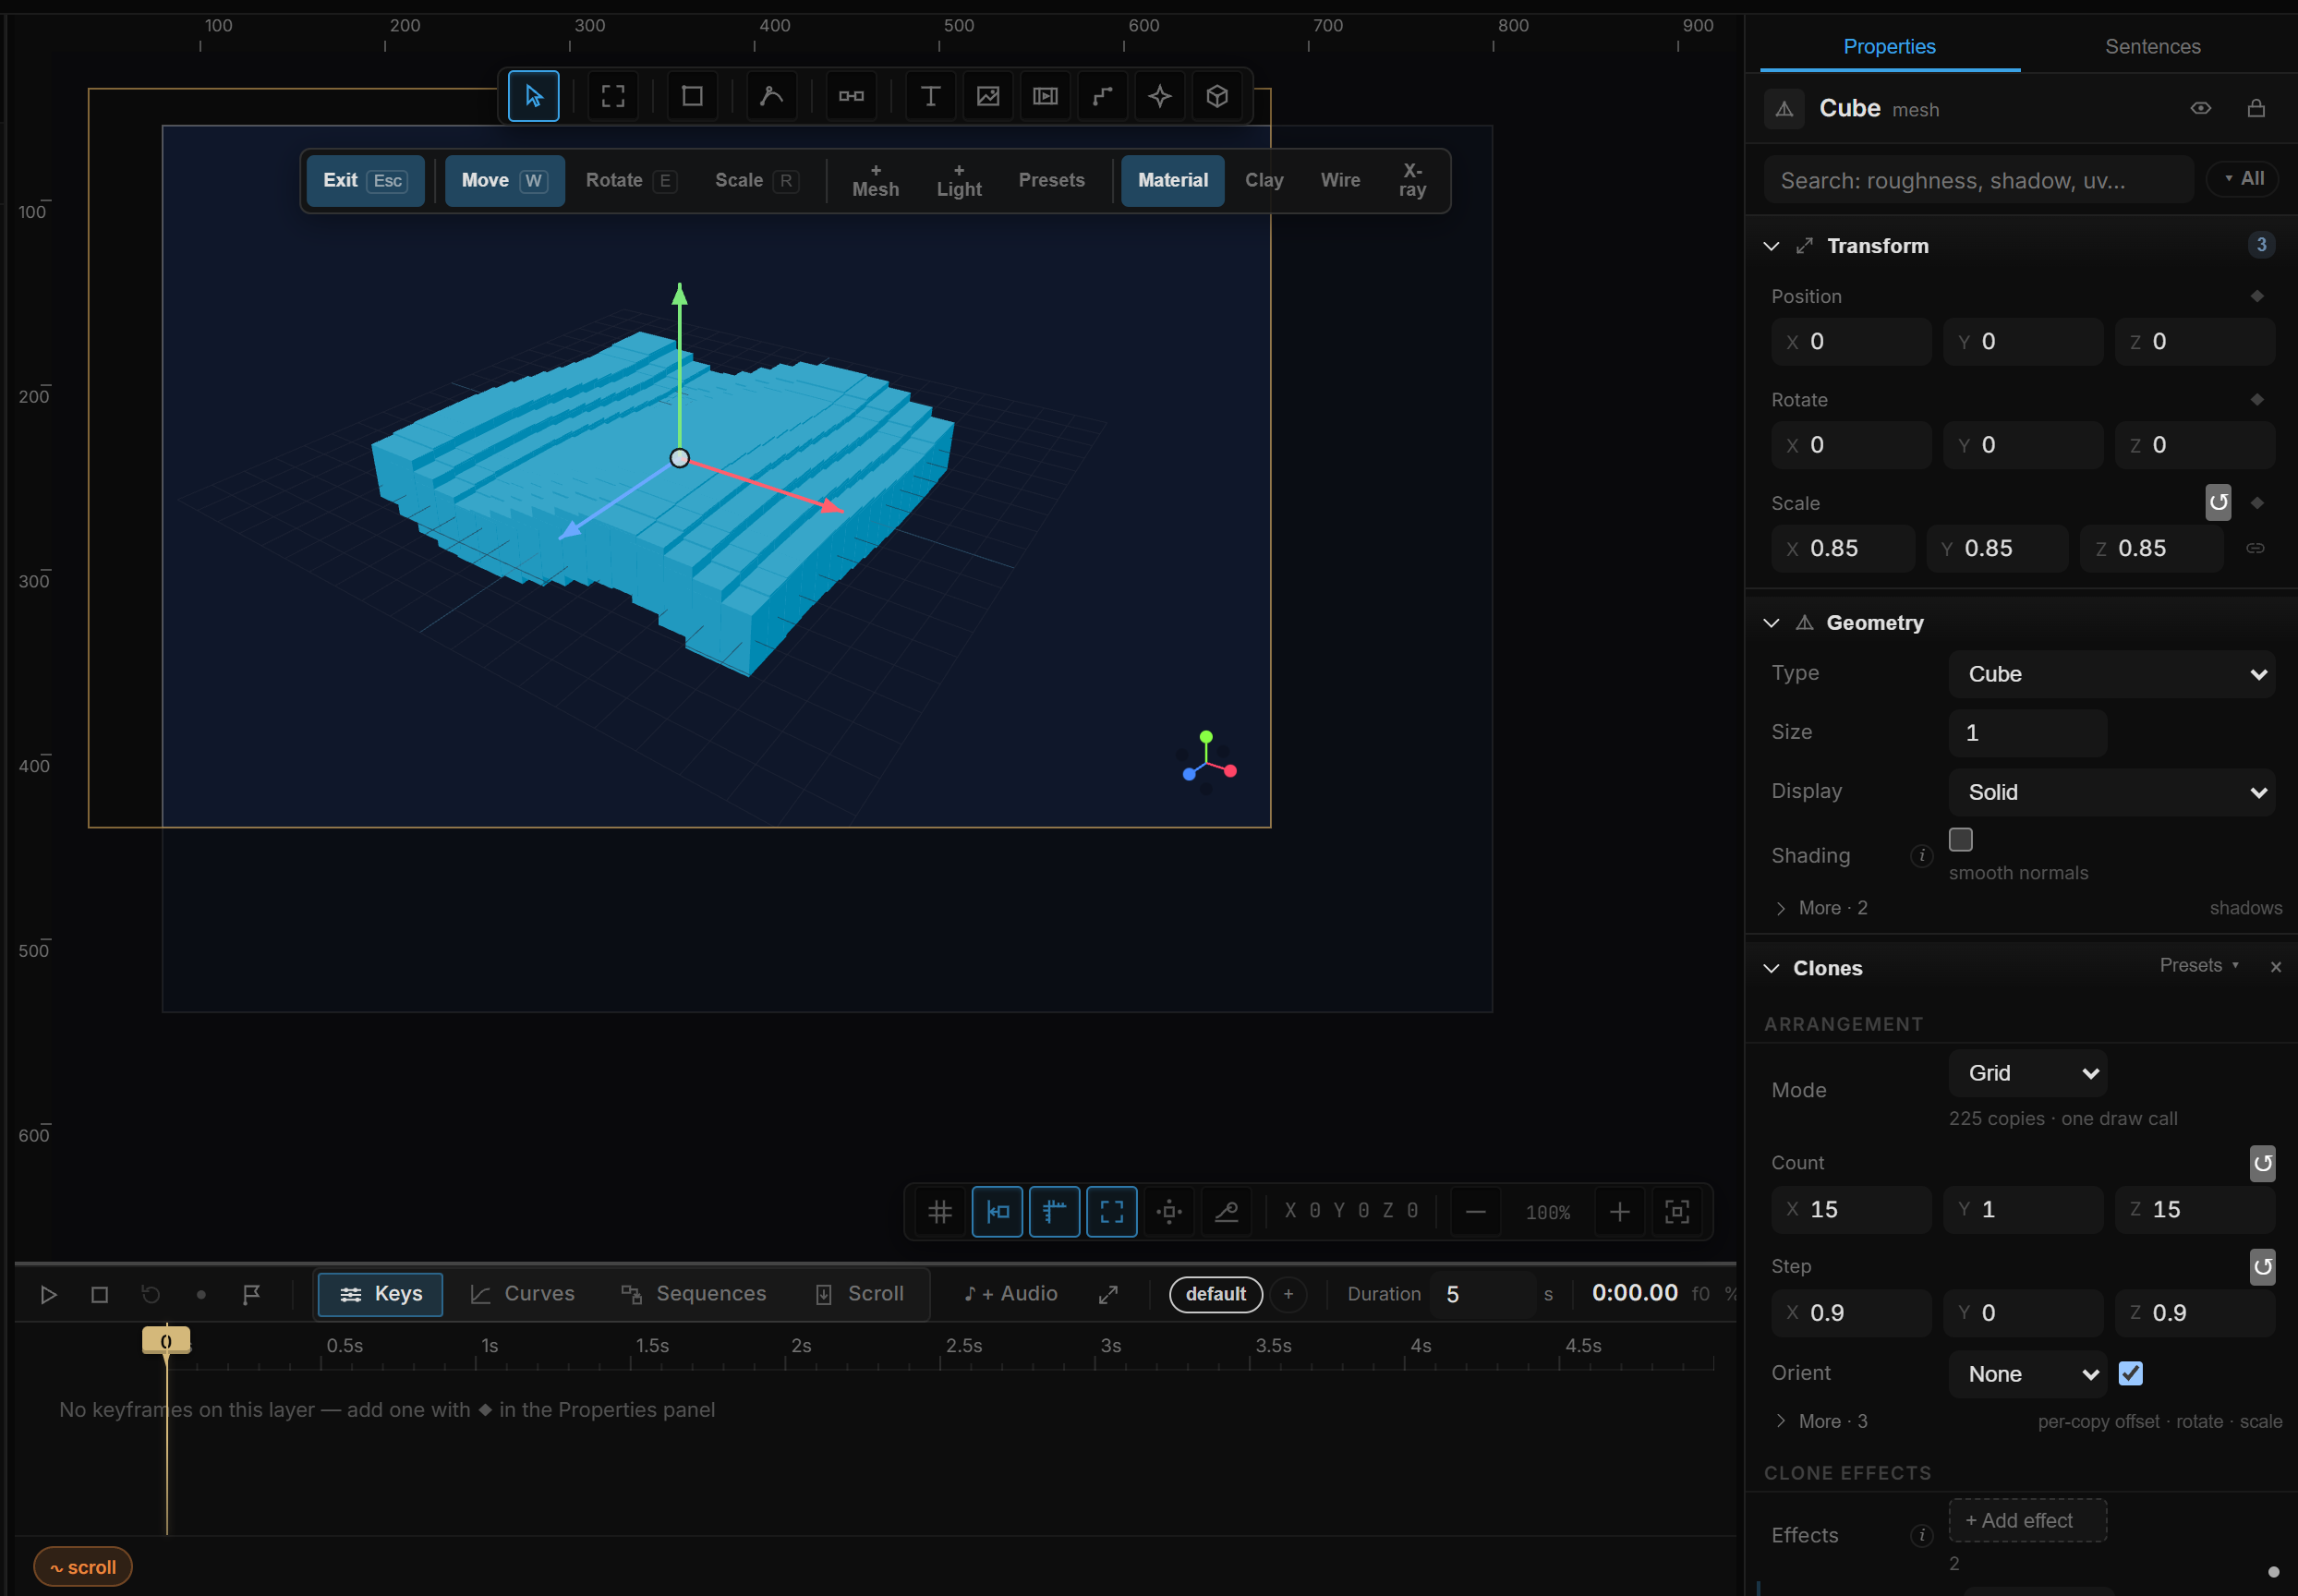
Use clones and clone effects to build repeated structures. Explore fields to influence groups of elements instead of adjusting each object separately.
Go deeper
Continue with the feature guides below. Draft labels describe the documentation status.