Everything solid inside a 3D scene is a mesh: a primitive shape, an imported model, or extruded text. This page covers the mesh's own section in Properties. Surfaces are on Materials & textures; placing and framing is on Scenes & the camera.
01Quick tour
- Select a 3D scene (or anything in it) and click + Mesh in the canvas toolbar. Pick one of nine types: Cube, Sphere, Cylinder, Cone, Torus, Capsule, Plane, Model, 3D Text. Right-click Add › Mesh here drops a cube at the pointer instead — Mesh here and Light here.
- The new mesh is selected. Its second section in Properties is named after what it is — Geometry for a primitive, Model for an imported file, 3D Text for text.
- The Type row at the top of that section switches the mesh to another kind. Changing it rebuilds the shape; position, material and everything else stay.
- Move it with the gizmo (W / E / R) or type values in Transform.
02Primitives
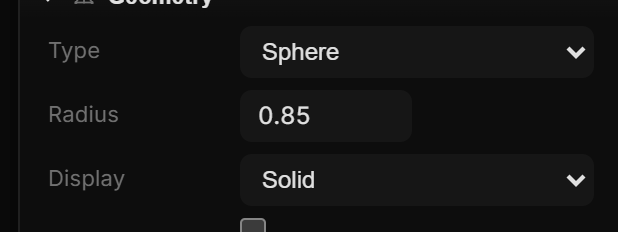
Only the rows that mean something for the chosen shape are shown.
| Row | Shapes | Notes |
|---|---|---|
| Size | Cube, Plane | Half the edge length, in world units. Default 1. |
| Radius | Sphere, Cylinder, Cone, Torus, Capsule | Default 0.75. |
| Height | Cylinder, Cone, Capsule | Default 1.5. |
| Tube | Torus | Radius of the ring's cross-section. Default 0.28. |
| Display | all primitives | Solid (filled surface), Wireframe (wire cage), Points (vertices only). |
| Point Size | when Display is Points | Size in world units — shrinks with distance. |
▸ More hides the quality settings and the shadow flags:
| Row | Shapes | Notes |
|---|---|---|
| Segments | Sphere, Cylinder, Cone, Torus, Capsule, Plane | Radial subdivisions (3 – 256). Higher is rounder but costs more triangles. Default 32. |
| Rings | Sphere, Torus, Capsule | Vertical / tube subdivisions (2 – 128). Default 16. |
| Cast Shadow | all | This mesh casts shadows onto others. On by default. |
| Receive Shadow | all | This mesh receives shadows. On by default. |
03Models
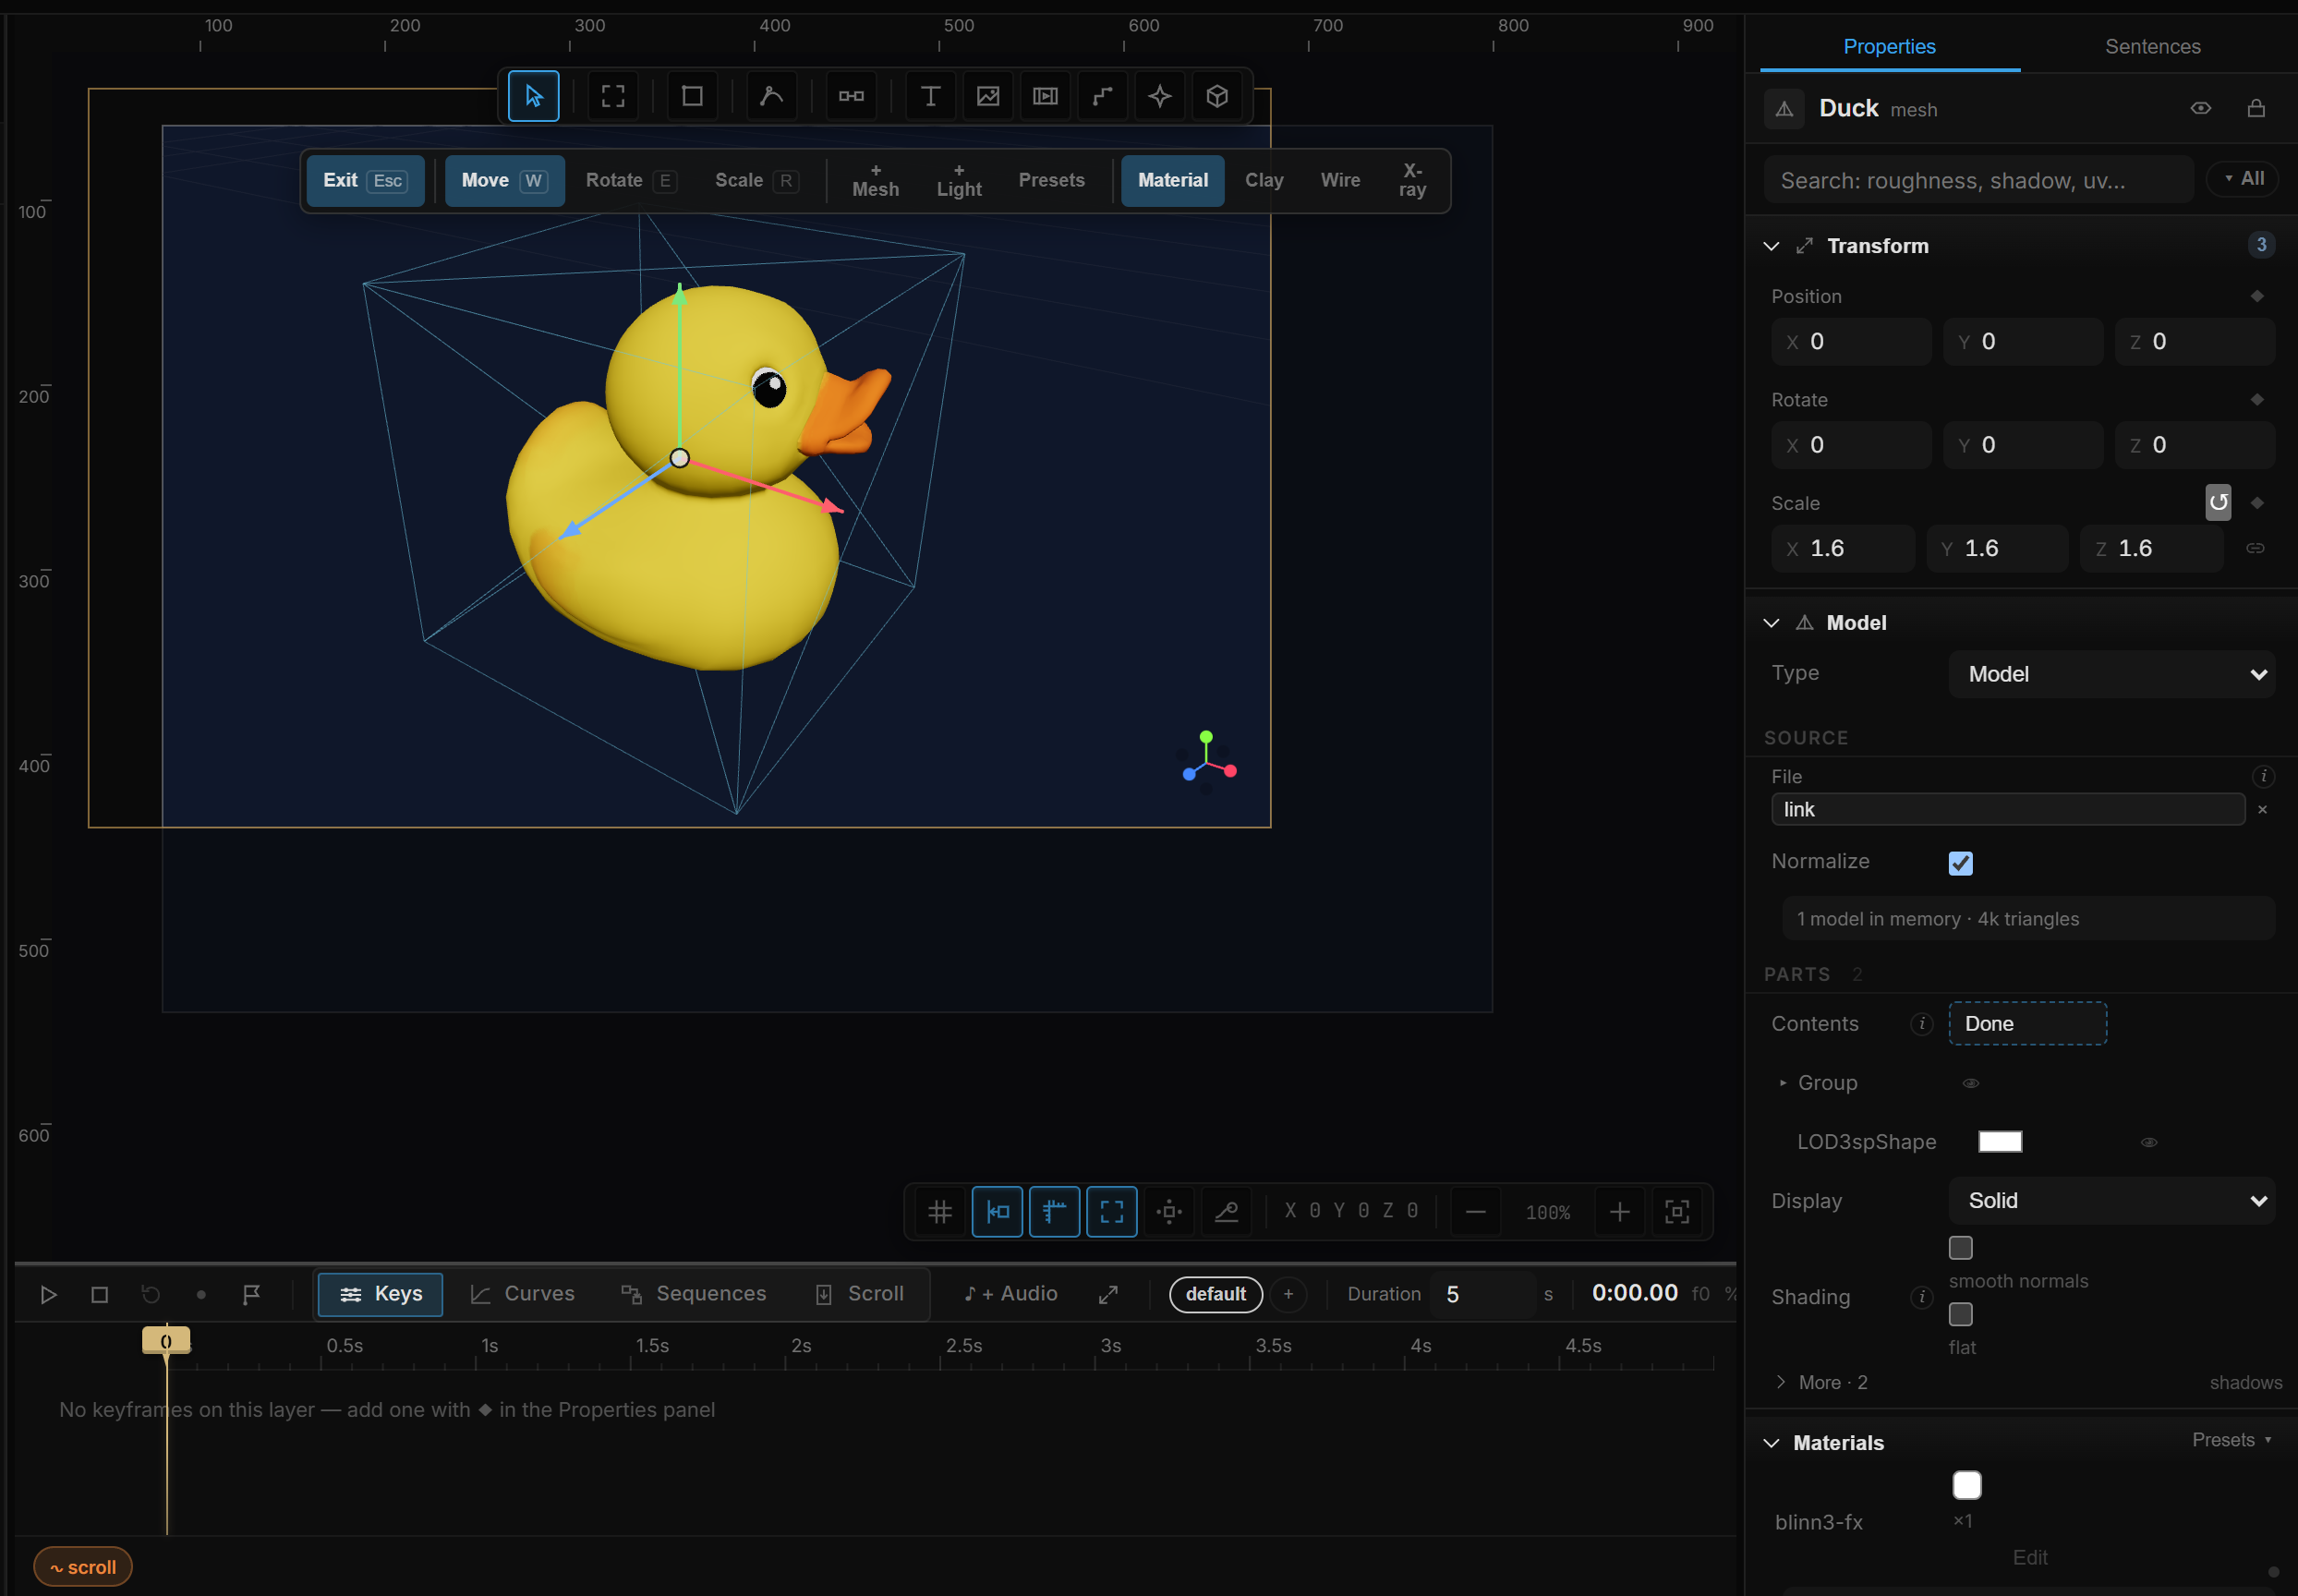
Pick Model in + Mesh (or set Type to Model). The section is now called Model and has up to three sub-blocks.
Source
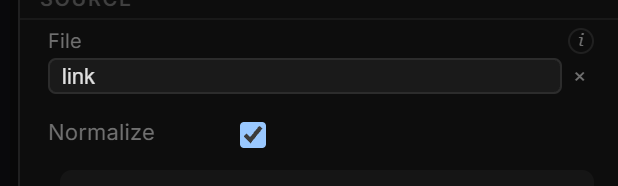
- File — pick a
.glb/.gltf. The picker opens the model library: + File to upload, a URL… field to link, or drag a file straight onto the field. Hover the (i) for a reminder: a model keeps the materials stored in the file, which is why there is no Material section for models — recolor or hide parts under Parts instead. - Normalize — fits the model into a unit sphere. Models arrive at wildly different scales; with this off one can land huge or microscopic. On by default; scale it afterwards with Transform → Scale.
Below the rows you see the loading state: Loading… 42%, a red Could not load this model message with a Copy load log button for bug reports, and once loaded a memory line ("1 model in memory · 320k triangles"). Above 1.5 million triangles it warns you to expect a lower frame rate.
Animation
Appears only when the file contains animation clips (the sub-block header says how many).
- Clip — Off or one of the clip names from the file. Pick one to play it.
- ▶ / ⏸ — previews the clip right here without moving the timeline. Disabled when Clip Time is keyframed — then play it from the timeline.
- Clip Time (s), Clip Speed, Clip Loop — property rows, so they take keyframes, expressions and rules like any other value. Keyframe Clip Time to scrub the animation by hand.
Parts
Appears when the model has parts (the header shows the count).
- Click Edit contents (N). The list of parts opens, nested as in the file.
- Click a row — or click the part itself on the canvas — to highlight it. The highlight works both ways: the row and the part on the canvas stay in sync. Clicking empty space in the scene clears the part selection.
- For each mesh part: a color swatch repaints this layer's copy only (the file is untouched), the eye hides the part (a non-destructive delete — the file keeps it, and hidden rows are dimmed), and ↺ resets the part to how the file defines it.
- Click Done to leave edit mode.
While edit mode is open, clicking the model on the canvas selects parts instead of starting a move — the same contract as other 3D editors.
043D text
Pick 3D Text in + Mesh. The section is called 3D Text.
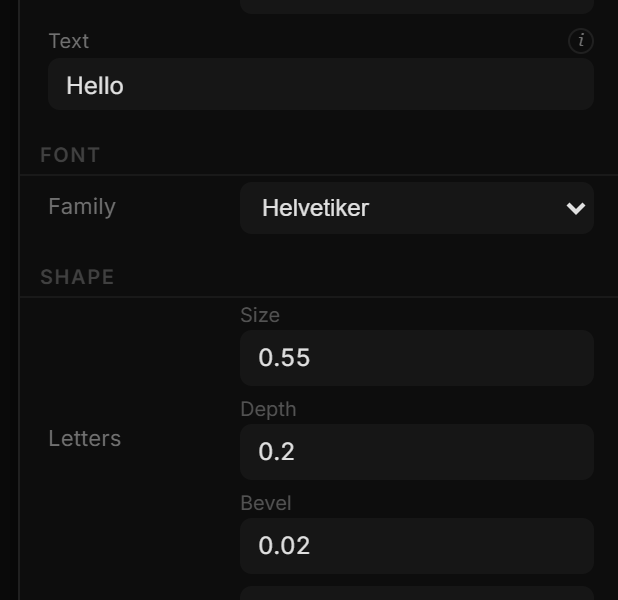
- Text — what to extrude. The (i) reminds you that letters are built one by one, so per-letter entrances live in the Text Animation section below.
- Font → Family — one dropdown in three groups:
- Bundled — Helvetiker, Helvetiker Bold, Optimer, Gentilis. Work offline.
- Google Fonts — Inter, Roboto, Montserrat, Poppins, Nunito, Rubik, Space Grotesk, Oswald, Bebas Neue, Anton, Archivo Black, Playfair Display, Lobster, Pacifico, Orbitron, JetBrains Mono. Downloaded once and converted in the app; the bundled font is drawn until it is ready.
- Custom → Custom file… — a File row appears: drop a
.ttf/.otf(a font downloaded from Google Fonts works) or atypeface.json. WOFF2 is not supported. - If a font fails to load you get Could not load this font — drawing with the bundled font. Check the connection or drop the file as a custom font.
- Shape → Letters: Size (cap height, default 1), Depth (extrusion, default 0.2), Bevel (edge bevel, 0 = none, default 0.02).
- Display offers Solid and Wireframe — there is no Points for text.
Text Animation
3D text uses the same animation engine as 2D text — Text animation. The Text Animation section shows Anim (keyframe it to play the entrance), then Animate: Off / Letter / Word / Line, Direction, Fx, a Preset gallery, Easing and the from-values (including Z and tilt). Picking a unit builds an entrance curve automatically, so you see something move right away.
05Transform for meshes
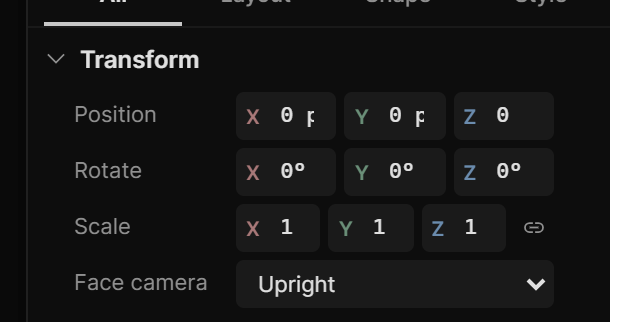
Position, rotation and scale are in Transform: Position X · Y · Z, Rotate X · Y · Z, Scale X · Y · Z. There is no pivot row for 3D layers. Keyframes, expressions and Set Property rules apply as everywhere else.
Face camera
Face camera keeps the mesh's +Z toward the camera every frame — cards, sprites, labels that should never turn away as you orbit.
| Value | What it does |
|---|---|
| Off | Default. Rotate X · Y · Z are the pose. |
| Upright | Yaws only. The object turns left and right to face you; it stays vertical. Use this for photo cards and UI planes. |
| Full | Matches the camera, including pitch and roll. A plane stays square to the view. |
Rotate X · Y · Z stay as an offset on top of the facing. On a mesh with Clones, each copy faces the camera and Orient is ignored — Clones Orient looks at the layout center, not the camera.
A mesh that has received a Projector bake also shows Baked stamp → Clear baked at the top of Geometry / Model / 3D Text. That removes only this mesh's baked picture; live projectors still stamp it.
To make a mesh fall and bounce in Play, add a Physics Body. To hang a Plane as fabric, add Cloth. Field is GPU deform — it is not cloth.
06Shortcut recap
| Shortcut | Does |
|---|---|
| W / E / R | Move / Rotate / Scale gizmo |
| F | Frame the selected mesh with the scene camera |