In ten minutes you will draw a card, make it slide into view, make a click reveal a caption, and watch the whole thing run in the player. Every step names the exact control and its shortcut. You don't need to have read anything first — the interface tour in The interface is there when you want the full map.
01Create a project
Open the tool and you land on the Projects screen. Click + New project.
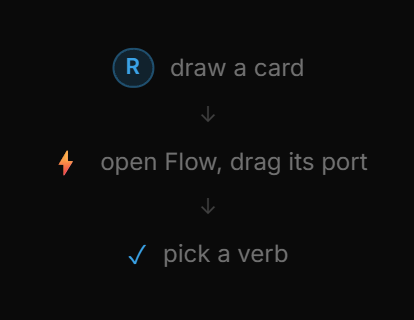
The editor opens on an empty canvas with a three-step hint in the middle: draw a card → add a sentence in Sentences → pick a verb. That is exactly what you are about to do, plus animation on the way.
02Draw an artboard
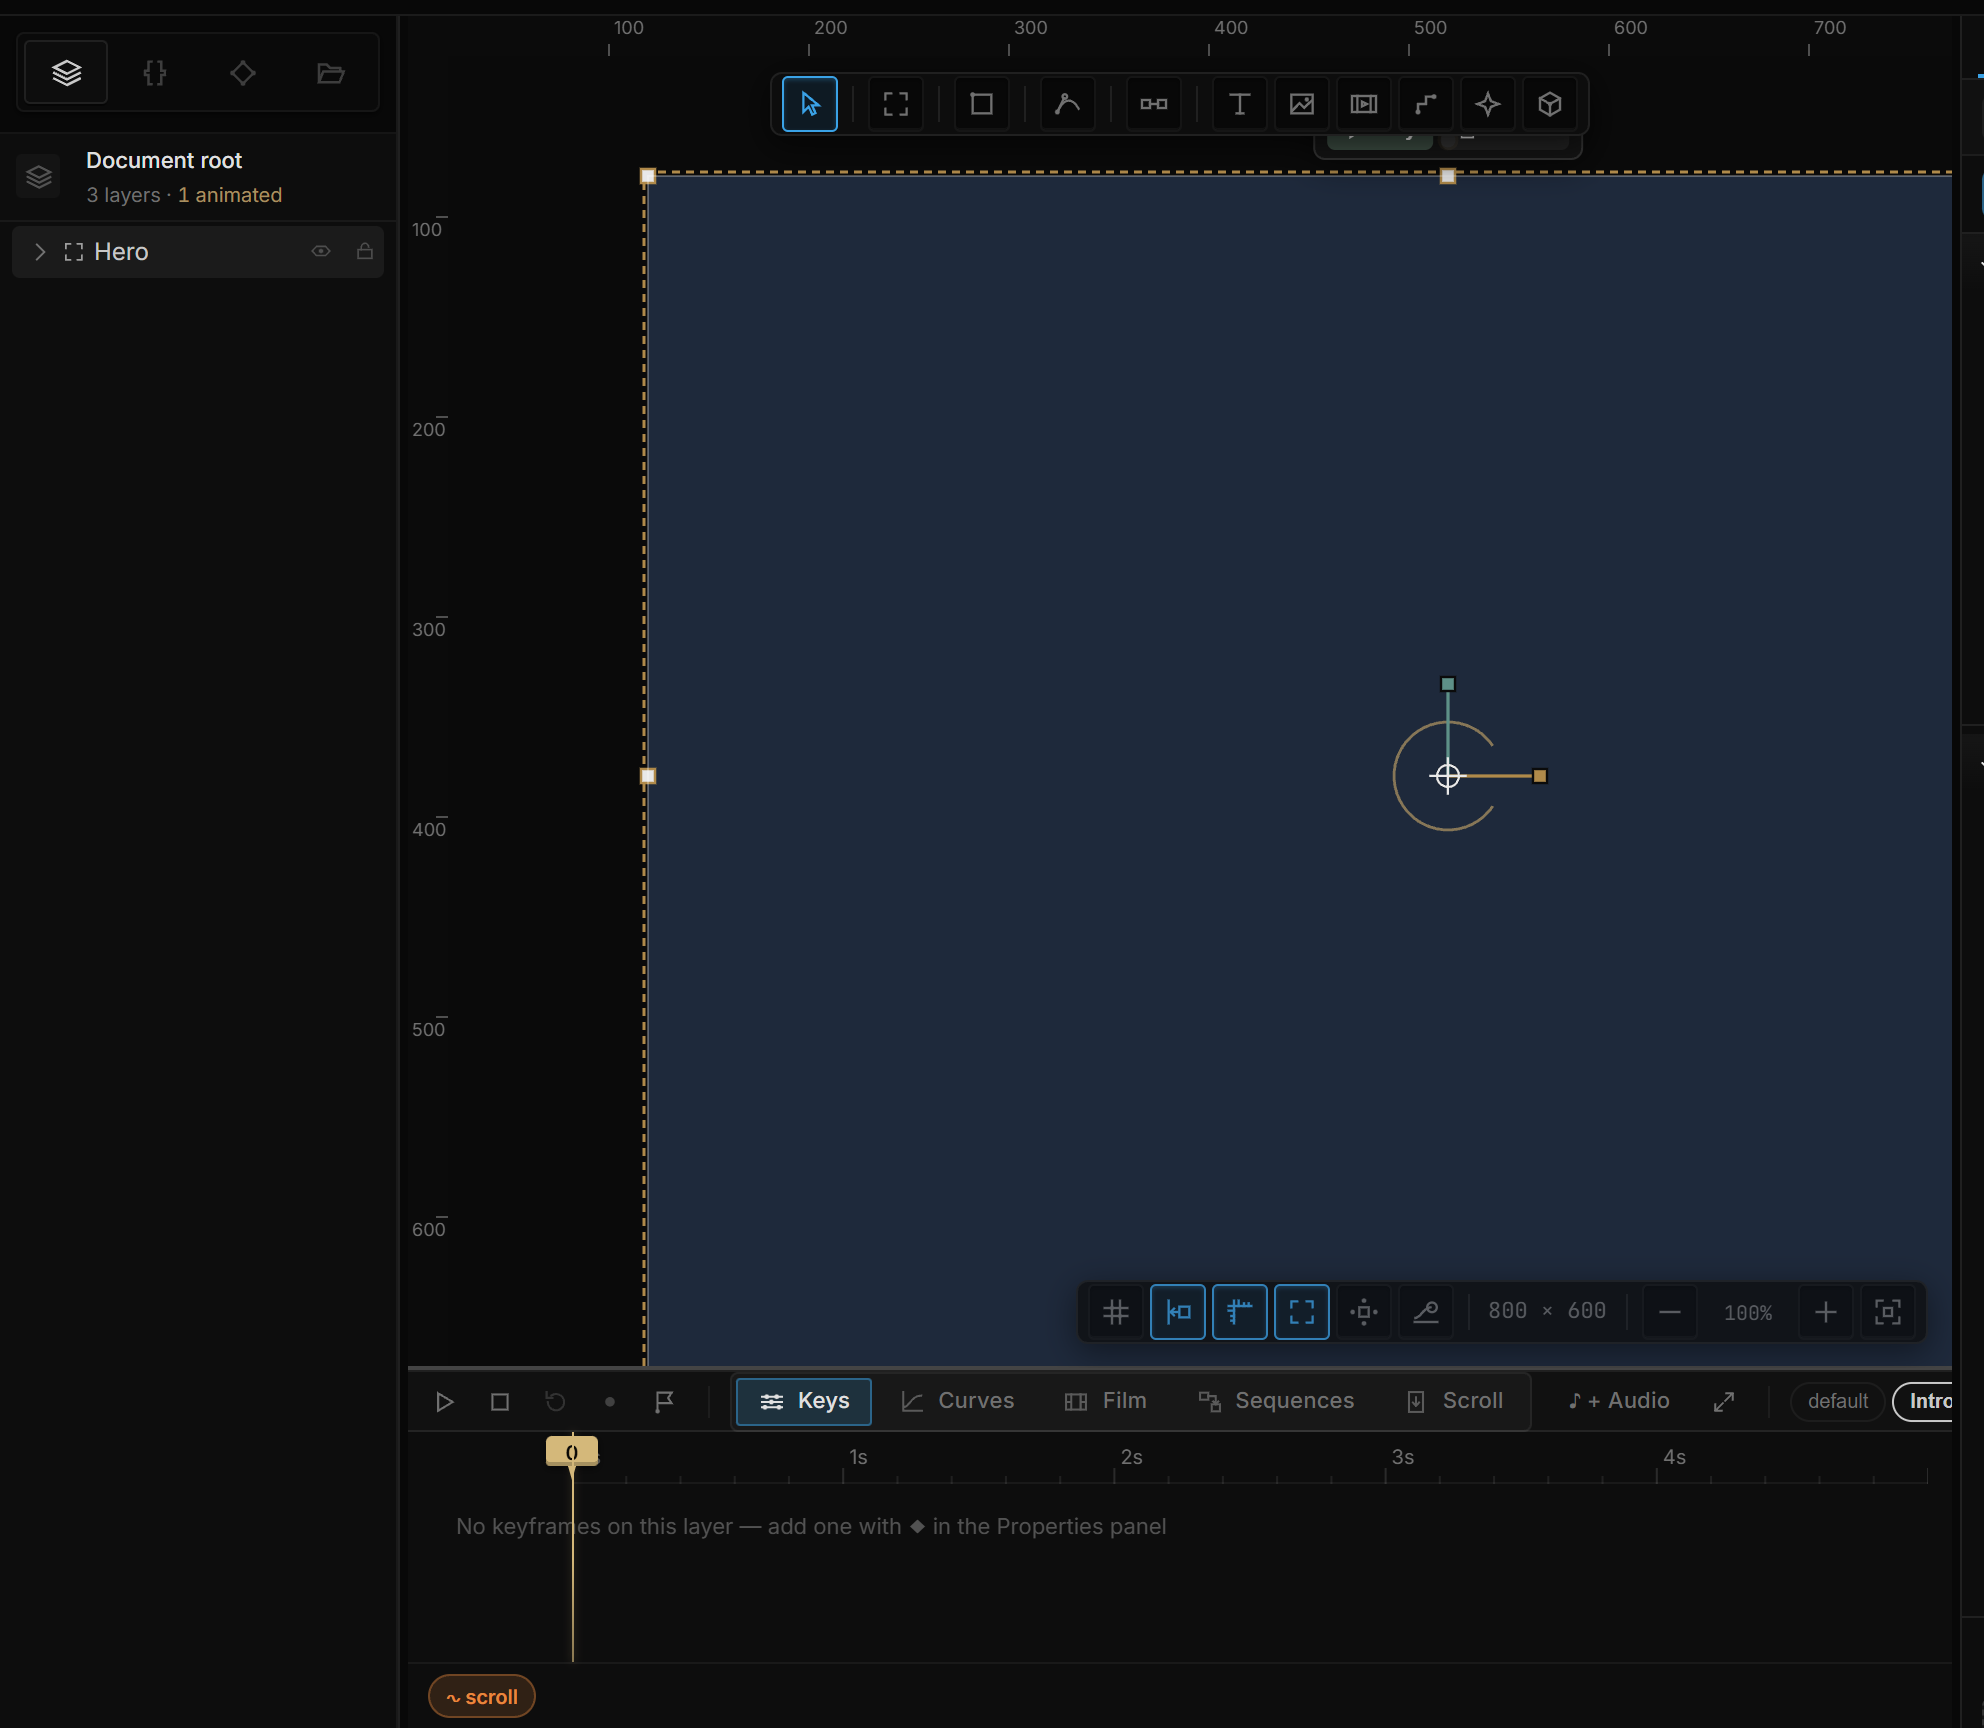
Press A to pick the Artboard tool, then click once on the canvas. You get a default 800×600 frame.
In the Layers tab on the left, double-click the artboard's name and call it Hero. Press Enter.
03Draw the card
Press R for Rectangle and drag a rectangle inside the artboard — something like 320×200, a little left of center. Because you drew it inside the artboard, it nests under Hero in the layer tree.
With the rectangle selected, look at Properties on the right:
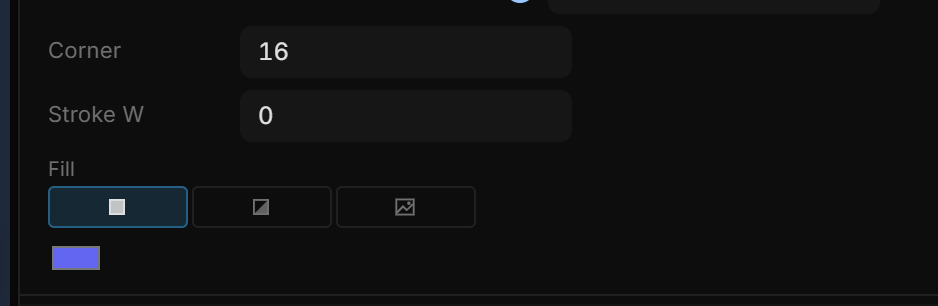
- In Appearance, click the fill swatch and pick a color you like.
- Still in Appearance, type
16in one of the Corners fields — all four corners follow until you tick Each corner.
Double-click the layer's name in the tree and rename it Card.
05Animate the card in
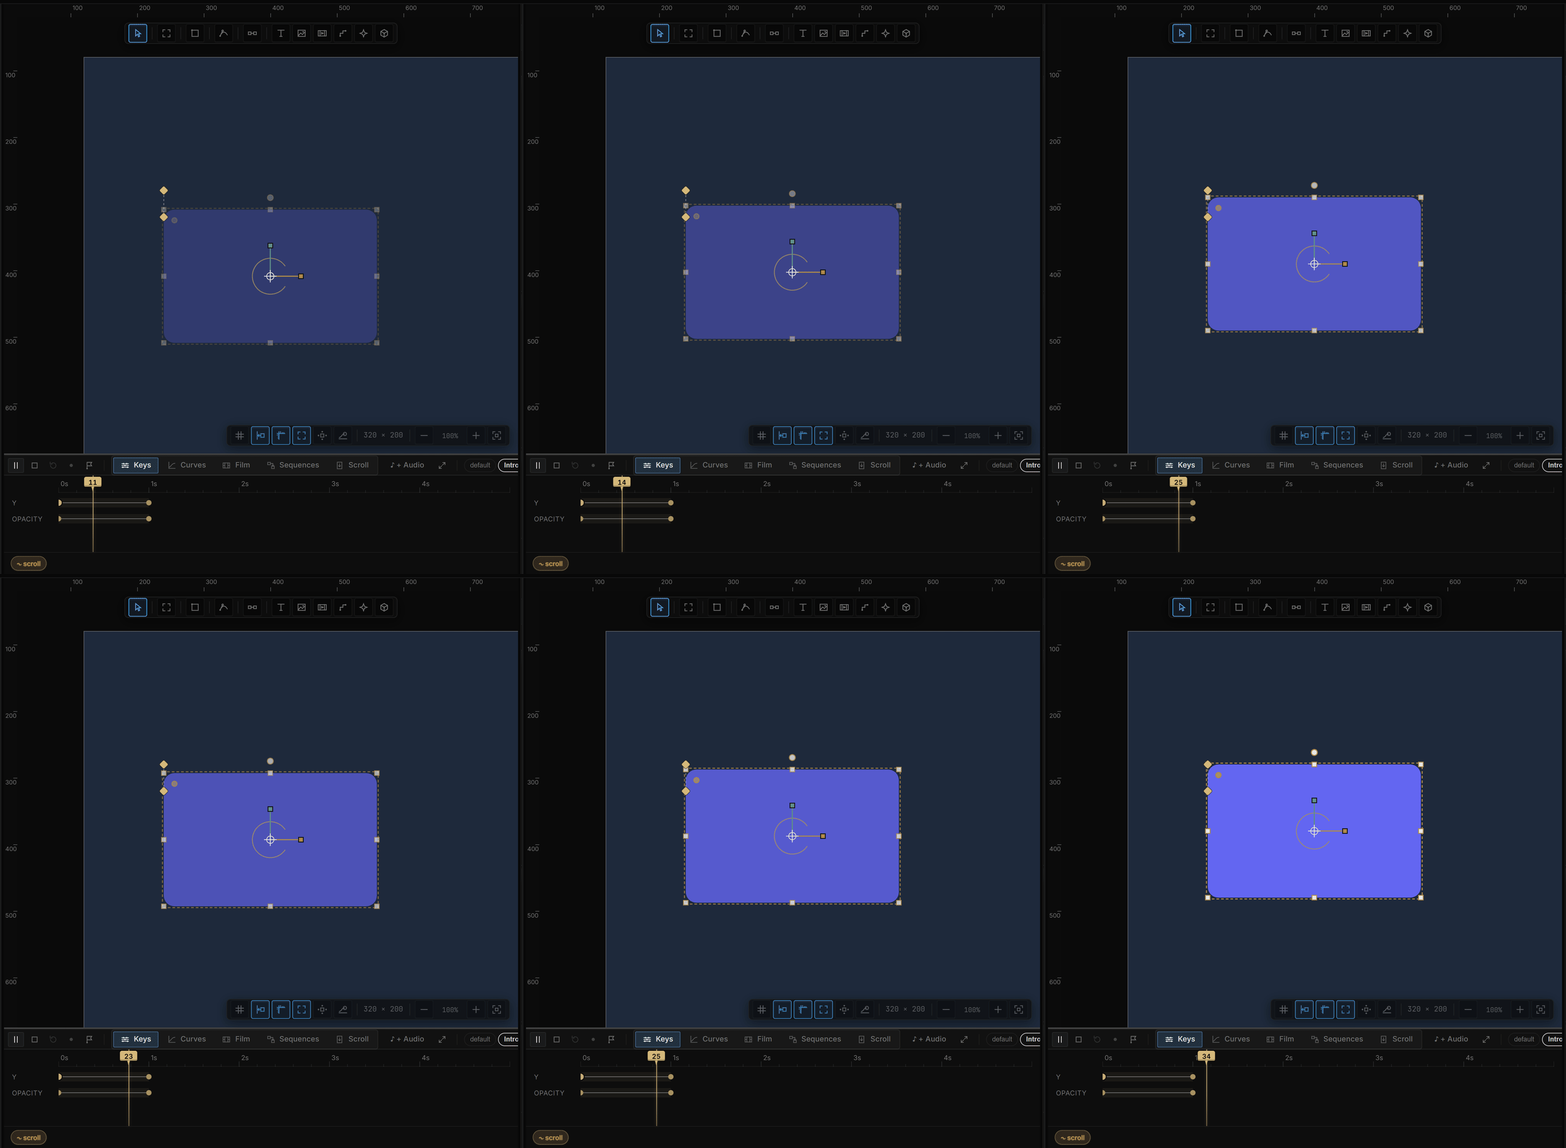
The bottom strip is the Timeline. The animation is two poses: where the card starts, and where it ends.
- Select Card. At the top of Properties, switch Design to Motion — that shows the keyframe badge on every row. Make sure the playhead is at the start — press Home to be sure.
- In Properties, set Opacity to 0 and add
40to Y (so the card sits a little lower than where it should end up). - Click the small ◆ badge next to Opacity, and the one next to Y. Each click records a keyframe at the playhead; the badge turns yellow.
- Move the playhead to about 1 second — click on the timeline ruler, or scrub it with the mouse wheel.
- Set Opacity back to 1 and Y back to its original value. Click both badges again.
Press Space. The card rises and fades in; press Space again to stop.
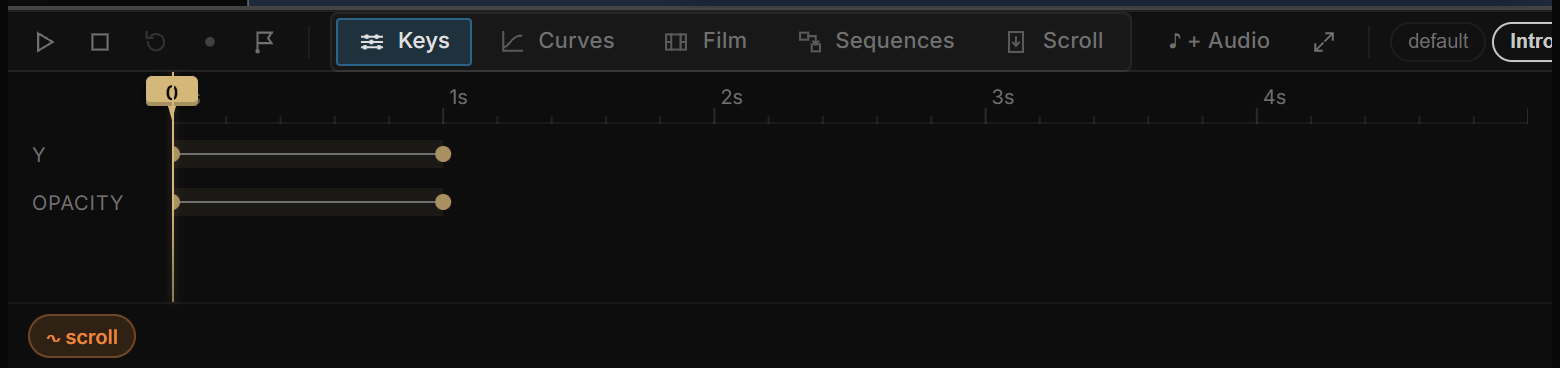
For a nicer feel, right-click the first keyframe on the Y row and pick one of the Out easings. A keyframe's easing shapes the segment that leaves it, so the first keyframe is the one to change.
06Make a click reveal the caption
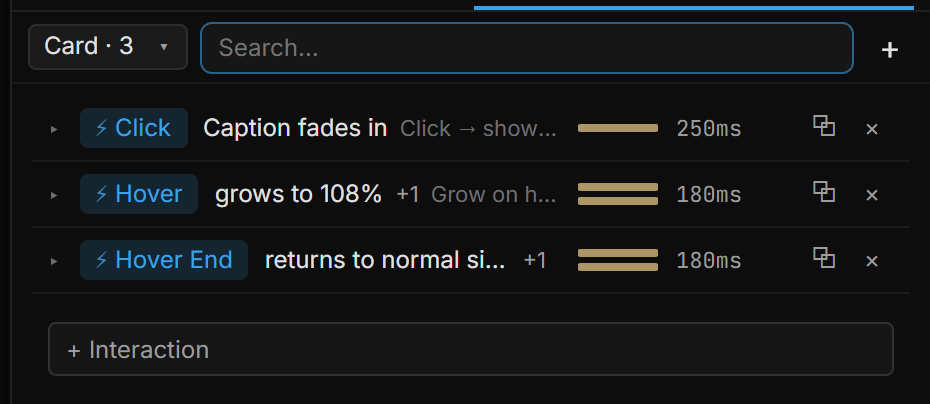
Now the part the welcome hint promised. Open the Sentences tab in the right rail and select Card. Click + Interaction and, under Between layers, choose Click → show target. A second list asks which layer is the target — pick Caption. It is applied at once, with sensible defaults.
The interaction now exists as one sentence in the list. Hover that row and both layers are outlined on the canvas with a line between them, so you can see what it connects without leaving the list.
Add a second one the same way: with Card still selected, + Interaction → Grow on hover. It is applied with its defaults (you can change them in the rule that opens). Your card has two behaviors.
07Try it on the canvas
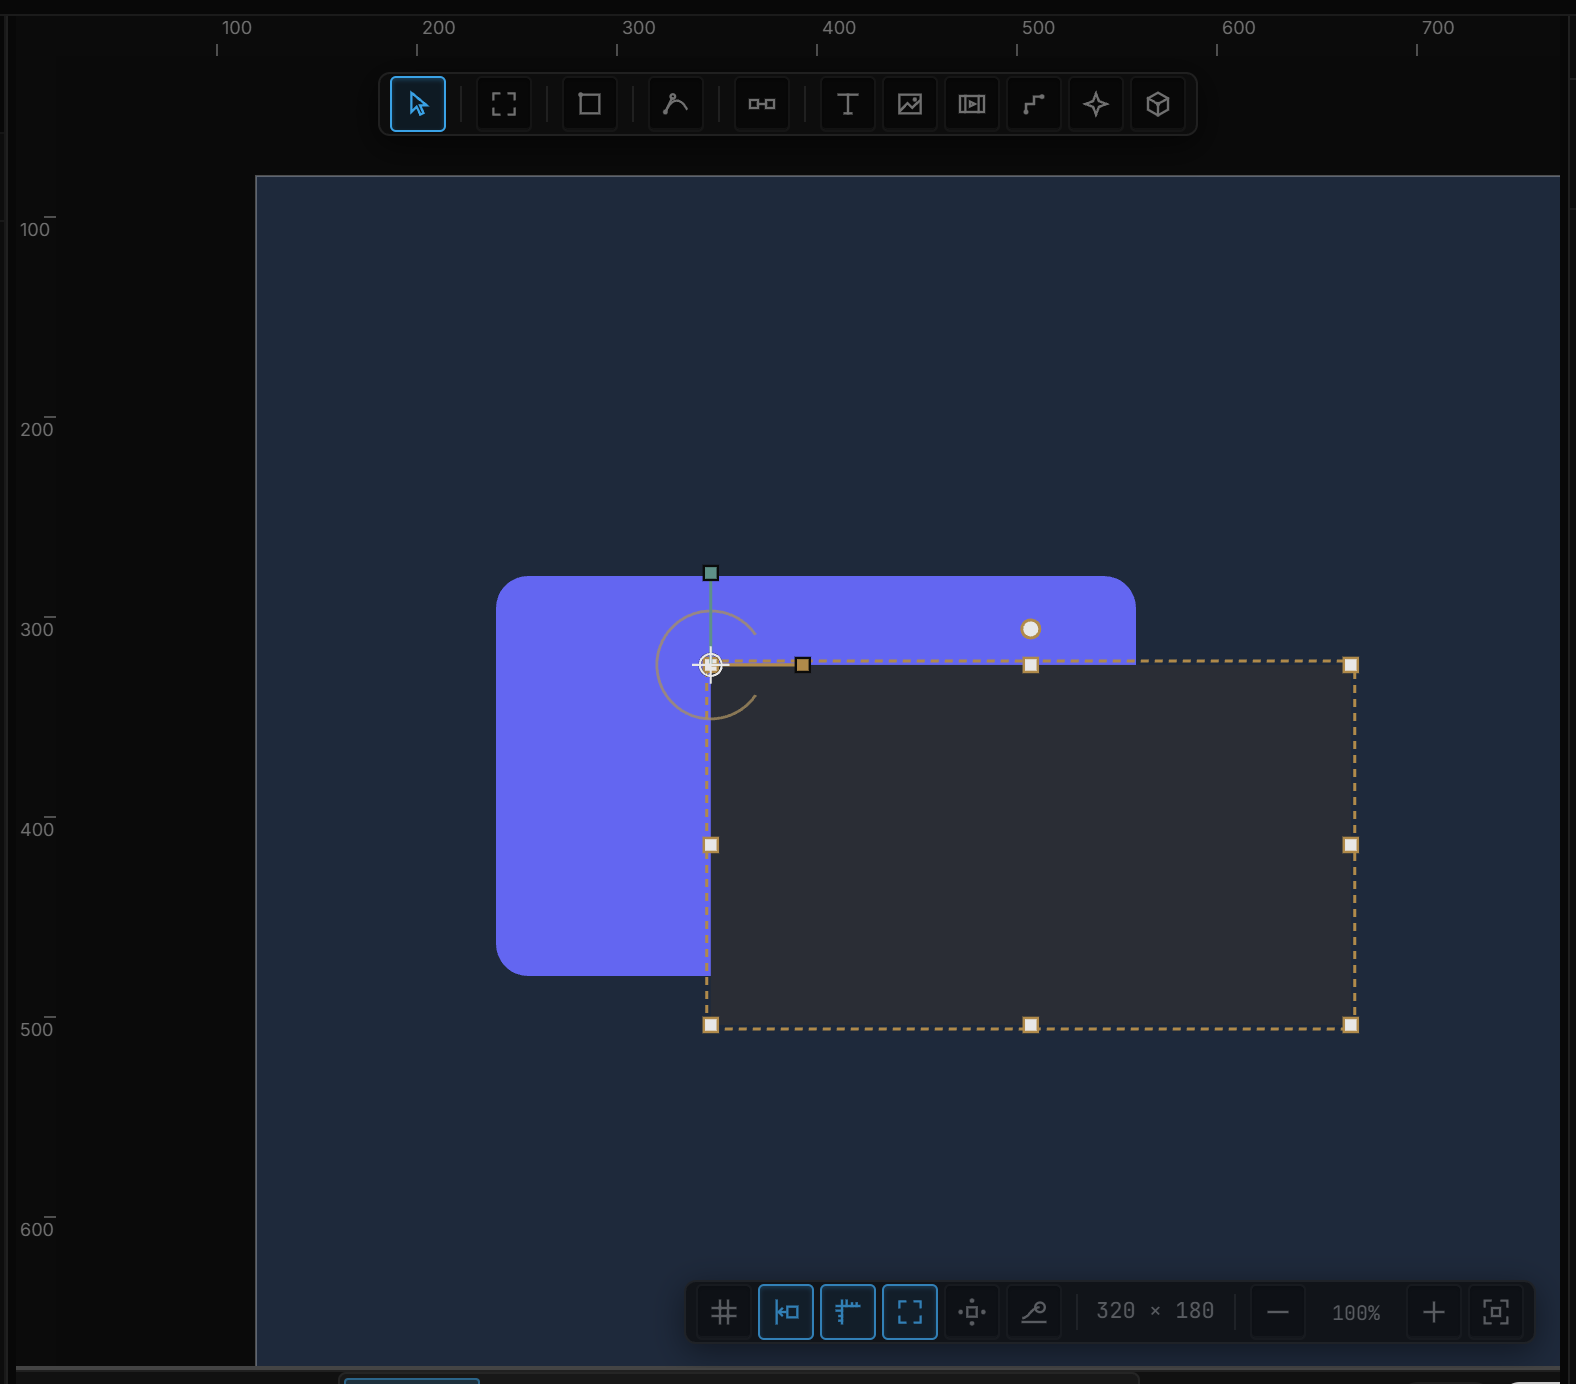
Interactions don't run while you edit — clicking a layer selects it. To try them, select the Hero artboard and click Play in the small pill above it. (Simulate in the top bar, Shift+P, runs them while you keep editing instead.)
A banner says ▶ Playing — Hero. Hover the card: it grows. Click it: the caption fades in. Press Esc to come back to editing.
08Preview in the player
Play mode runs one artboard inside the editor. Preview in the top bar opens your scene in the player, in a new tab, exactly as a visitor would get it: the sequence plays from the start, then hovers and clicks work.
Click Preview. The card animates in, and the click reveals the caption.

09Save the project
Your project is already stored in this browser. Ctrl+S (or Save) writes it there — no download. To have a file you can keep, send, or open elsewhere, use Export → Project file (.omni). Click the project name in the top bar to change it first; that name becomes the file name.
10What you built
- An artboard — the frame you design in and the thing you preview.
- A card with a fill and a corner radius — a layer with properties.
- Two keyframes on two properties — an animation on the default sequence.
- A sentence: when Card is clicked, show Caption — made from a recipe.
- A second sentence from Grow on hover, which wrote both the hover and the hover-end for you.
Every one of those is a door into a bigger room. How the tool thinks names the ideas; Drawing & layers, Timeline & animation and Interactions teach each area in full.
11Shortcut recap
| Tools | A artboard · R rectangle · T text · Esc finish typing / back to Select |
| Timeline | Home start · Space play / pause · ◆ badge = keyframe at playhead |
| Interactions | + Interaction in Sentences · hover a sentence to see what it connects |
| Trying it | Play pill on the artboard · Esc exit · Simulate (Shift+P) · Preview in the top bar |
| File | Ctrl+S save this project · Export → Project file (.omni) for a file you can send |