Photos, illustrations and clips — how they get into a scene, how you frame them, and how a video decides which frame to show. If you haven't drawn anything yet, read Drawing & layers first.
01Quick tour
- Drop an image or a video file onto the canvas. It becomes a layer at your cursor and lands in the Files tab at the same time.
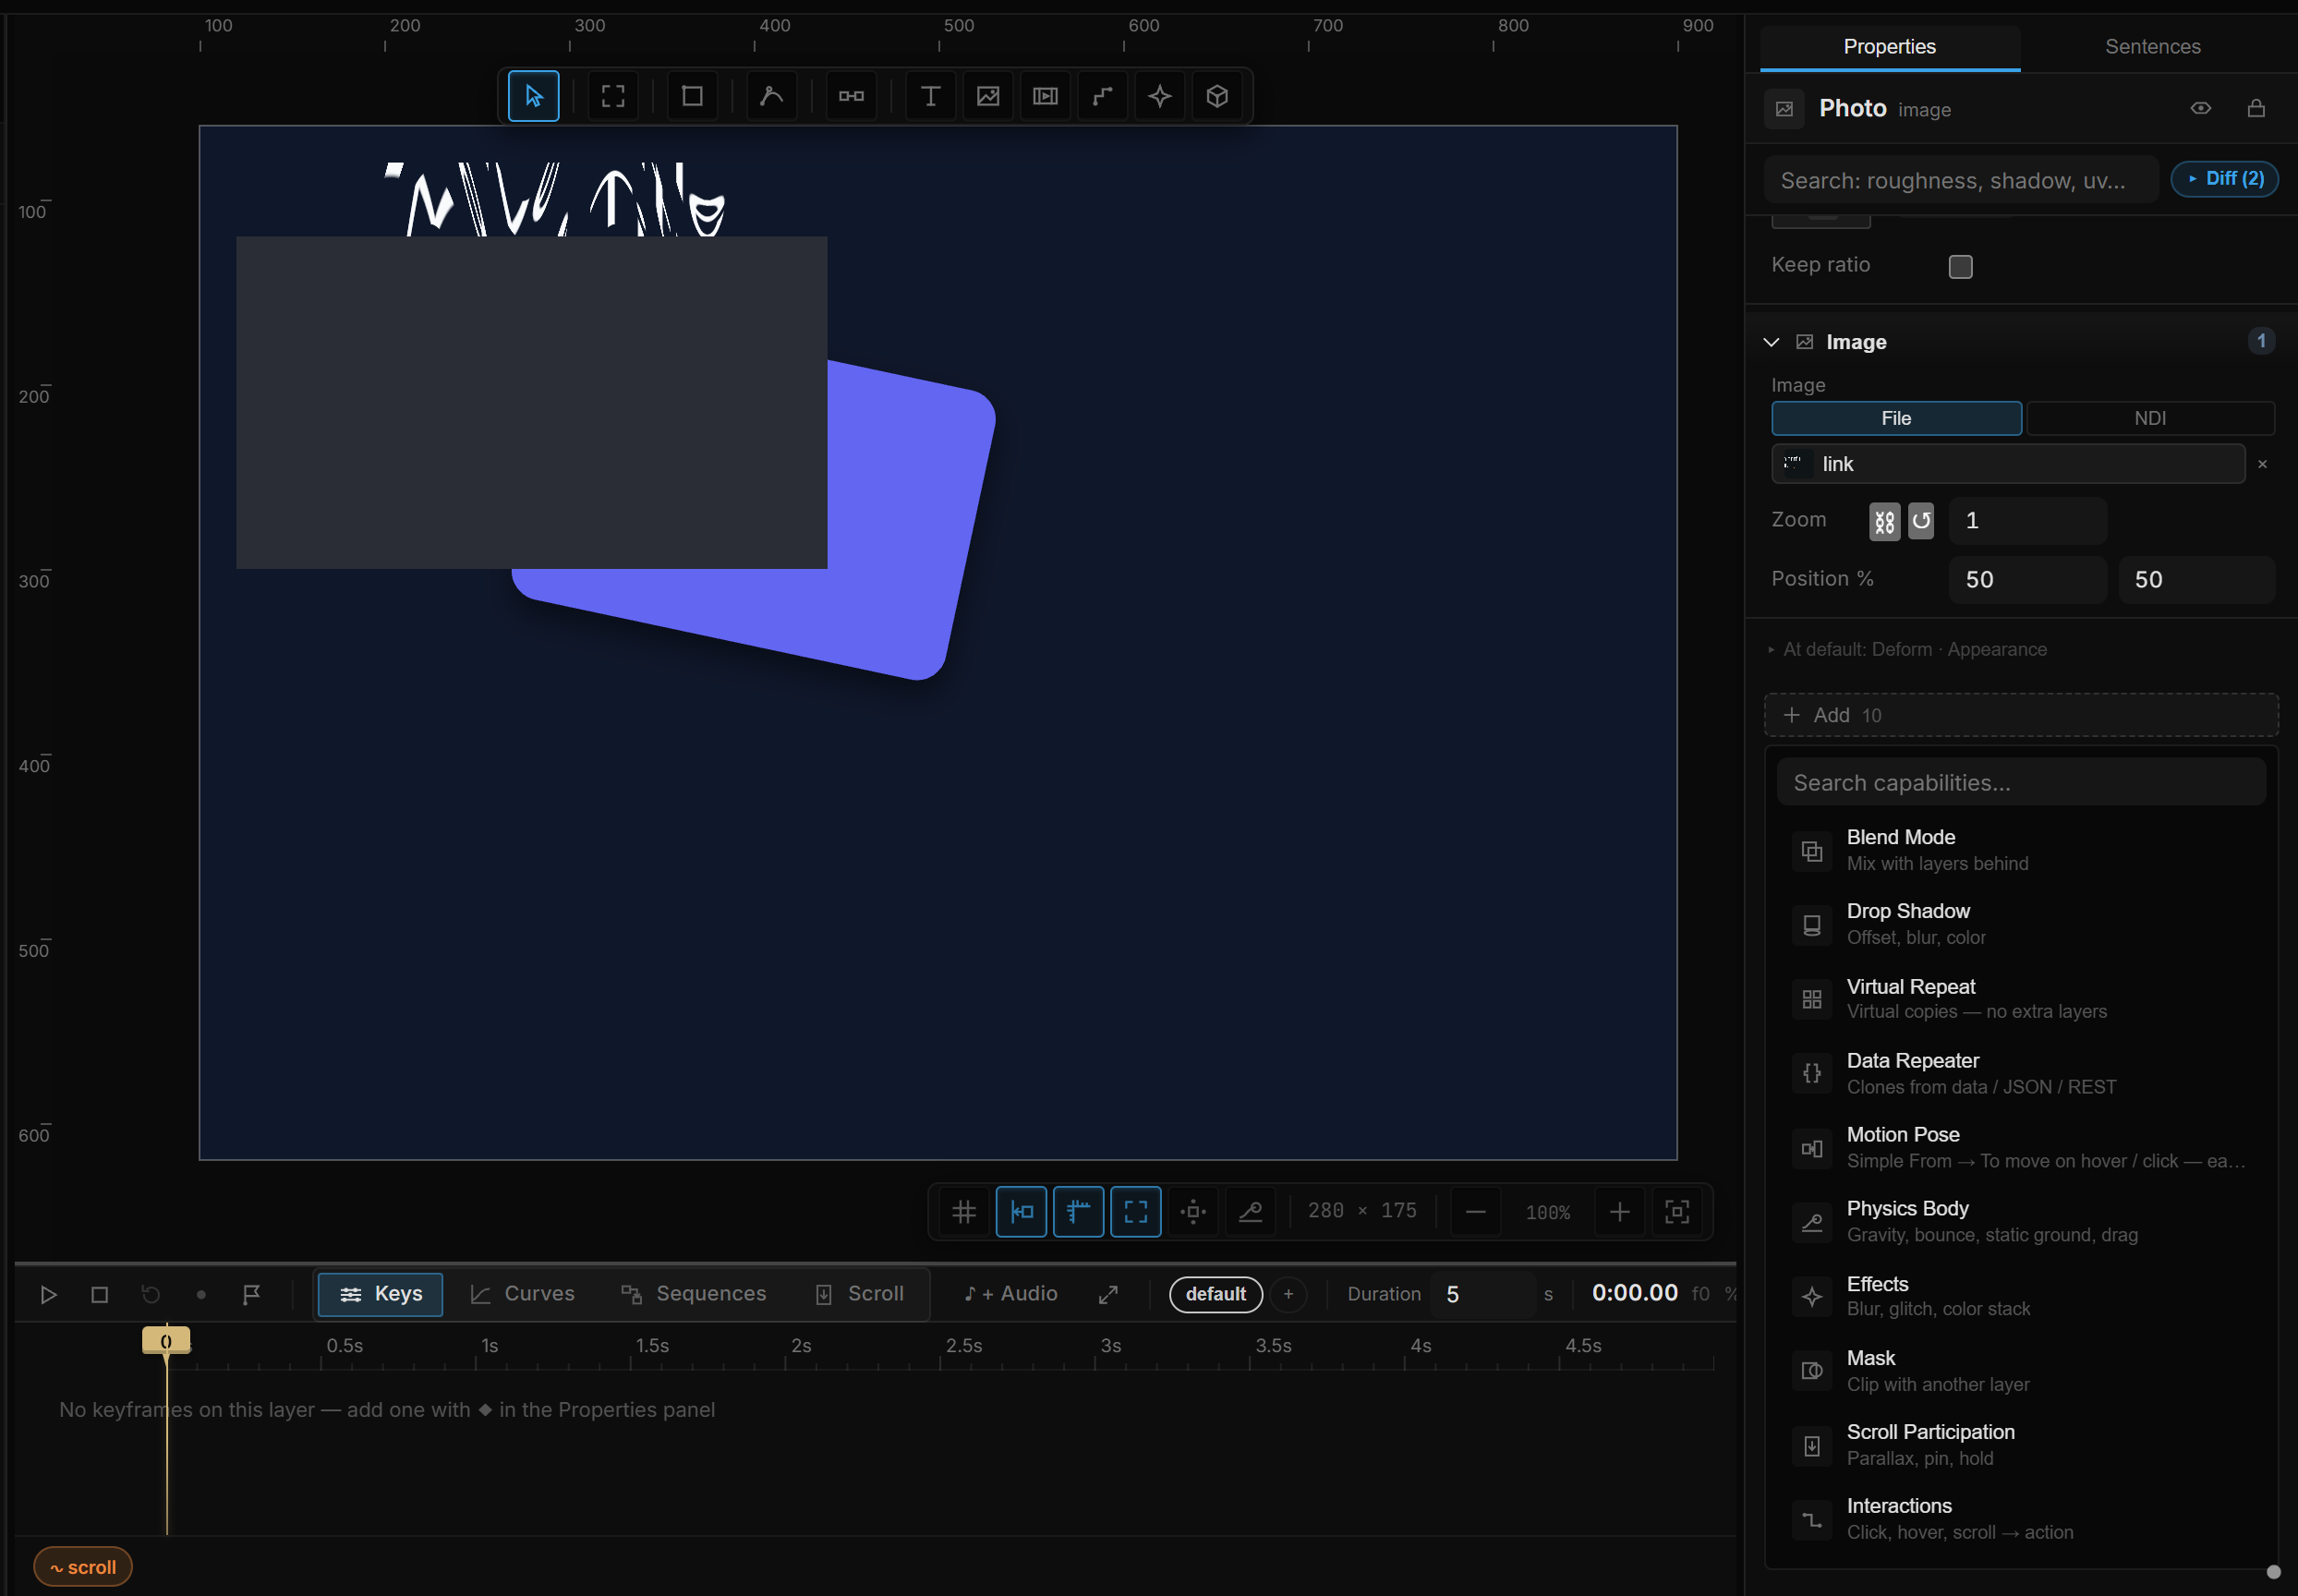
- Select it. The Image (or Video) section in Properties shows the source and a Zoom / Position crop.
- For a video, press ▶ next to the source to watch it without touching the timeline, or leave it alone — a video follows the playhead by itself.
02Getting a file in
Three ways, all ending in the same place:
| Do this | Result |
|---|---|
| Paste an image (or an image URL) over the canvas | An image layer at the cursor |
| Drop a file onto the canvas | An image layer — or a video layer if the file is a video |
| Files tab → add a file, drag one in, or paste a URL, then drag the card onto the canvas | The same, from your library |
Two tools do the same job from the toolbar when you want to draw the box first: Image (I) and Video (no shortcut). Draw or click to place the box, then pick the source in Properties.
The Files tab
The Files tab in the left panel is your asset library — images, video, audio, models and fonts. Everything you add anywhere in the tool ends up here, so a picture used once can be reused as a fill, a 3D texture or a gallery card without pasting its URL again.
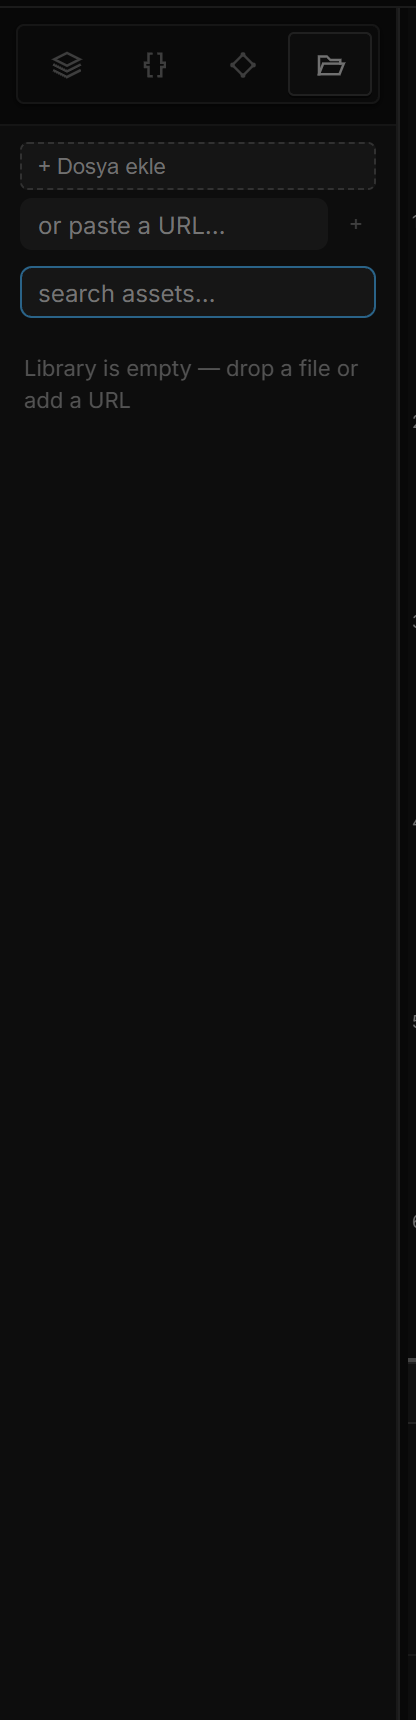
- The add-file button opens a file picker; you can also drop files anywhere on the tab, or type a URL in or paste a URL… and press +. search assets… filters the cards.
- Double-click a card's name to rename it. × removes it from the library.
- Image and video cards can be dragged onto the canvas. Audio cards get ▶ (listen once) and ♪ (put it on the timeline); models and fonts are picked from their own fields.
- The size under each card tells you what it costs. Local files are embedded in the scene file; anything over 2 MB is flagged so you know what's making the file heavy. A URL asset is only referenced, never embedded — the tooltip on the URL field says so.
Icons
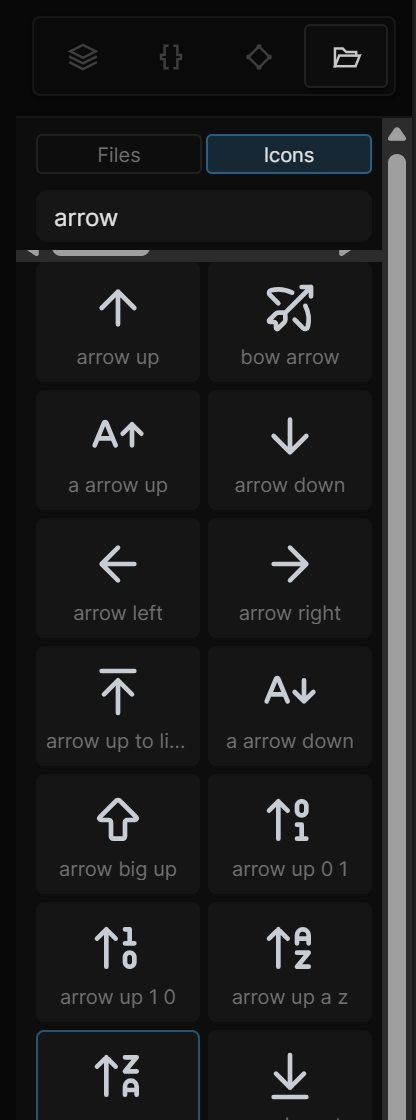
The Files / Icons switch at the top of the tab turns it into an icon browser. Type in search icons…, and narrow to one set with the chips under it: Lucide, Tabler, Phosphor, Heroicons, Heroicons solid, Radix, Ionicons, Bootstrap, Material Symbols.
- Click an icon to place it in the middle of the current artboard.
- Drag it onto the canvas to place it where you drop it.
The icon lands as a group of vector paths, 96 px wide — recolor it with its fill, resize it, edit its points. It is part of your scene, so it plays offline like any other layer.
03The Image section
Select an image layer and the Image section shows:
| Row | What it does |
|---|---|
| Image | The source. File is the library, a dropped file or a URL. |
| Zoom | 1 fills the box; 2 shows half of it, twice as large. The ⛓ button locks the aspect (on by default) — unlock it to zoom X and Y separately (the image will stretch) |
| Position | Which part of the image sits in the middle, left → right and top → bottom: 0 is the left or top edge, 50 the middle, 100 the right or bottom edge |
| Crop on canvas · Reset | Crop by hand on the canvas (below) · show the whole image again (zoom 1, centered) |
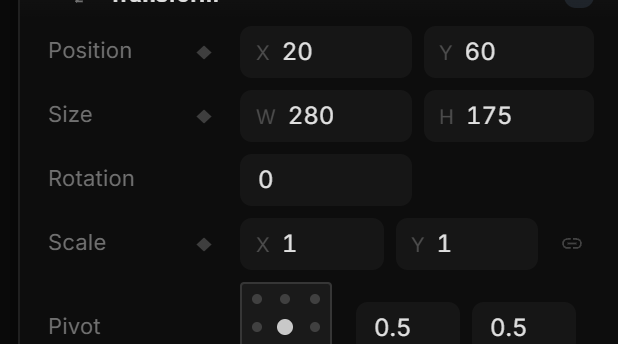
This is a crop, not a resize: the layer's box stays where it is, and you choose what shows through it.
Zoom and Position are ordinary properties: they have the badge, so you can keyframe a slow push-in, bind the position to the pointer, or expose it.
On the canvas: double-click the image — or press Crop on canvas. The overflow is dimmed; drag to pan, scroll to zoom on the point under the cursor, Esc (or Done, or a click outside) to exit. At zoom 1 a wide or tall picture already has overflow from cover-fit, so you can pan to the bit you want without touching the Zoom field first.
04Video layers
A video layer is an image layer with a clock. Draw one with the Video tool, or drop a video file on the canvas.
| Row | What it does |
|---|---|
| Video | The source. File is the library, a dropped file or a URL — ▶ plays it right here while the timeline stays put. |
| Sequence | Convert to sequence — see below |
| Time (s) | The frame being shown, in seconds |
| Speed | Playback rate, 0–8, while the video follows the playhead |
| Loop (under ▸ More) | Wrap around at the end |
| Muted (under ▸ More) | Silence the audio |
The crop rows (Zoom, Position) work exactly as on an image.
Who owns the frame
By default the video follows the timeline: press play and it plays, scrub and it scrubs, at the rate you set in Speed. Nothing to set up.
The moment you add a keyframe to Time (s), ownership flips: the frame is read from your curve instead. That is how you retime a clip, play it backwards, or step through it frame by frame with Hold easing. Speed has no effect while Time is keyframed, and the video plays silently.
Convert to sequence does this for you in one click: it extracts the frames into memory (so scrubbing stays smooth) and drops two Time keyframes, 0 → end, on the timeline. From there, open the graph editor and reshape the curve. The status line under the button reports the frame count, fps and size; the frames are rebuilt when the file is reopened.
05Playing video from a rule
For a video layer, Time (s) is an ordinary property. Anything that can write a property can drive it:
- A Set Property action jumps or tweens Time to a value.
- A ∿ stream binding lets scroll, a variable or the mouse scrub the clip — see Streams & variables.
- A keyframe on Time in a named sequence, played from a rule.
The Video (3D) target in Sentences is something else: it plays or pauses a video that is used as a texture on a 3D material (mesh, slot, Play / Pause / Toggle). It does not apply to 2D video layers.
06Shortcut recap
| Place | I image tool · paste an image or URL over the canvas · drop a file |
| Crop | Double-click the image · Crop on canvas · drag to pan · scroll to zoom · Esc exits · ⛓ lock aspect · Reset shows the whole image |
| Icons | Files / Icons switch · click = place in the artboard's middle · drag = place where you drop |
| Video | ▶ preview in place · keyframe Time (s) to own the frame |