Four looks you can build in a few minutes. Each one is a stack you can steal: the same catalog, the same cards, different order and a couple of numbers. How the stack works is The effect stack. Parameter tables live on the family pages — Distort, Stylize, Light.
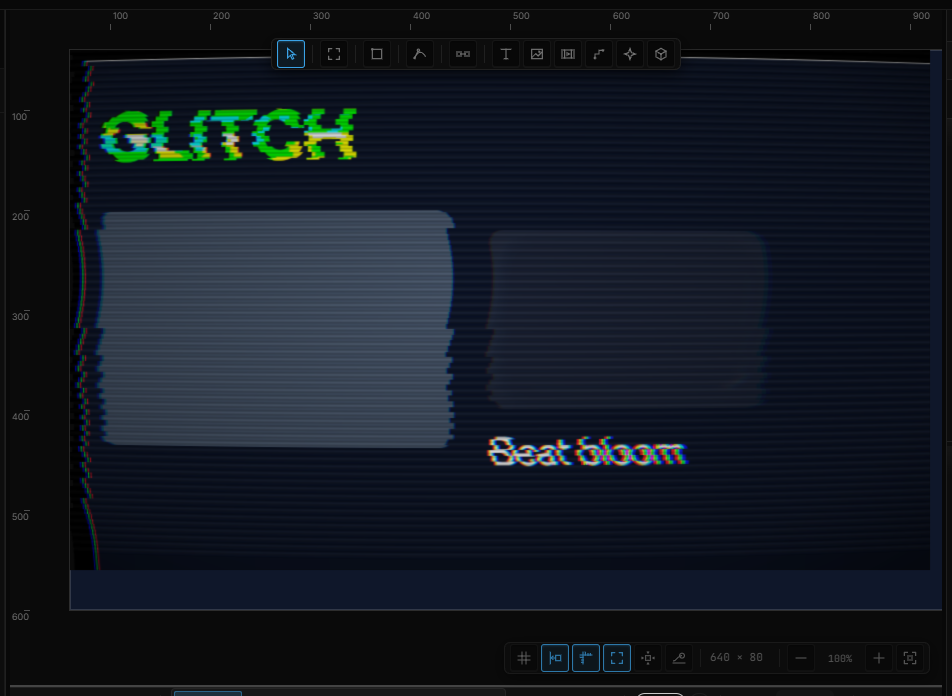
01A glitch title
A line of type that tears a little, all the time, and panics on a beat if you later bind Speed.
- Draw an artboard (A) and a text layer (T). Type the title. Pick a heavy weight so the slices read.
- With the text selected, + Add › Effects › + Effect. Add Glitch, then Chromatic aberration, then Film grain.
- On Glitch, set Amount to
0.04, Rows to14, Speed to0.4. Leave Motion on Timeline. - On Chromatic aberration, set Amount to
0.012. - On Film grain, set Amount to
0.08and Speed to0.3.
The stack runs top to bottom: the type tears, then the torn edges split red/blue, then grain sits on everything.
02A VHS frame
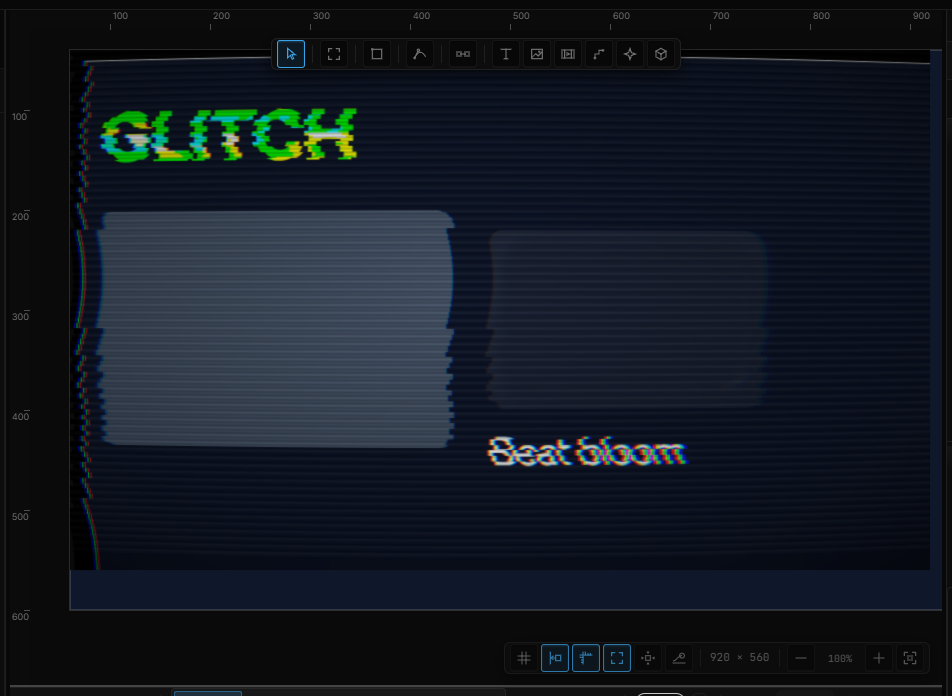
The whole artboard looks like a tape. One Effect Layer, the size of the artboard, so every layer underneath goes through it.
- Draw the scene first — type, a photo, whatever sits in the frame.
- Pick the Effect layer tool (Shift+E) and drag a box that covers the artboard. It should sit above the other layers in the tree.
- + Effect: VHS, then CRT screen, then Vignette.
- On VHS, Amount
1.2, Speed0.5, Motion Free run — the tape should keep moving when the timeline is stopped. - On CRT screen, Scanlines
0.55, Curvature0.12, Chromatic0.012, Speed0.2. - On Vignette, Intensity
0.7, Size0.45, Softness0.5.
03A glass card
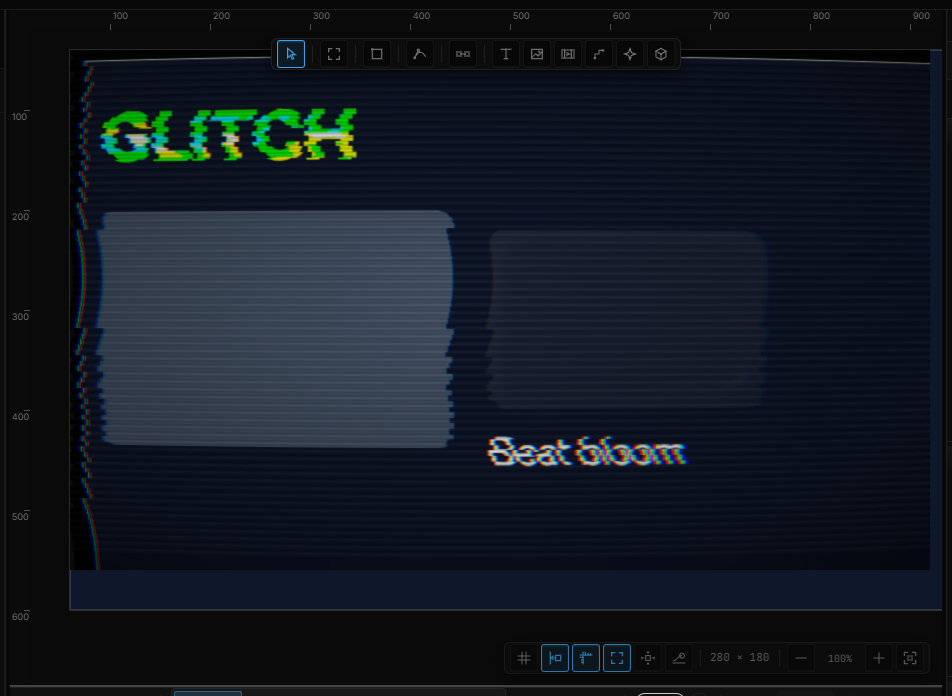
A rounded rectangle that bends whatever is behind it.
- Draw a background — a photo, a gradient, a busy group. This is what the glass will refract.
- Draw a rectangle (R) on top. Round its Corners so the pane has soft corners. Do not fill it solid; a low-opacity fill is fine, a full fill hides the glass.
- + Add › Effects › + Effect › Glass. Preset Frosted.
- Raise Frost if the card should read as frosted; keep Refraction around
0.7so the backdrop still moves when you drag the card. - Optional: Drop shadow on the same layer, after the glass, so the card lifts off the page.
Glass lives on the card, not on an Effect Layer — it reads the scene painted so far and shows it inside the shape. See Effects on a layer vs the Effect Layer.
04A bloom that pulses with the beat
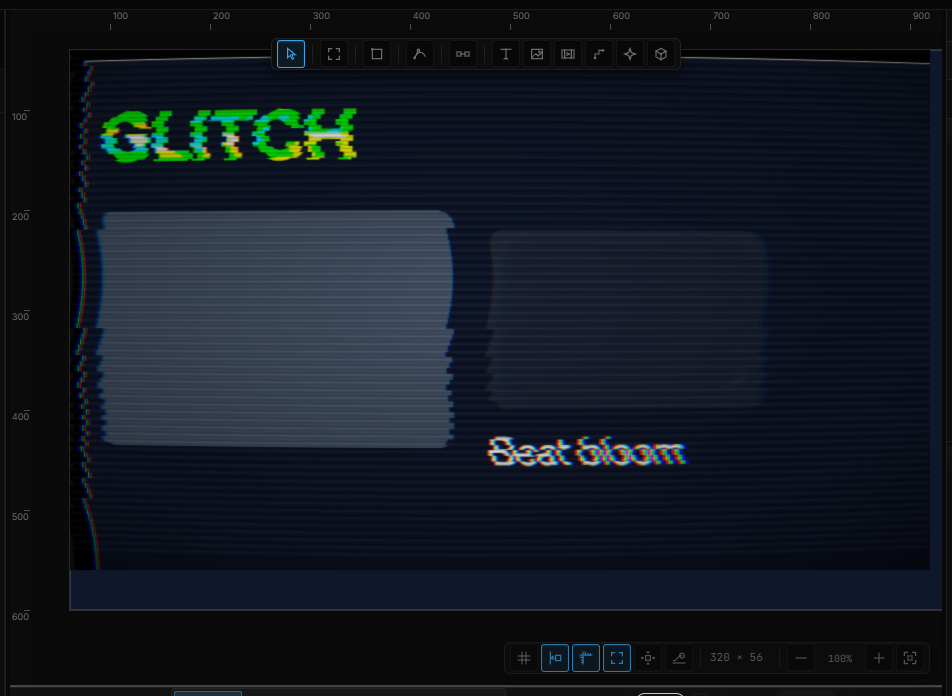
A glow that opens on the kick. Needs a sound on the timeline first — Audio clips and Visuals that react to sound.
- Put a track on the timeline (♪ + Audio) and play it once so analysis has something to read.
- Select the layer that should glow — a title, a shape, a neon line. + Add › Effects › Bloom.
- Set Threshold so only the bright bits glow (
0.55is a start). Intensity1.2, Radius 3. - Click the ⏱ next to Intensity, then the ∿ on that row and pick Audio › Beat (or Bass if you want a longer swell).
- If the glow never quite shuts, lower Threshold or put a small Mix keyframe at rest.
05What to read next
The family pages are the catalog with every knob: Blur, Color, Distort, Stylize, Light. Driving a parameter from sound, scroll or the pointer is Animating effects.