An effect parameter starts life as a plain number: you drag it, the picture changes, and that is that. This page is about making it move — with keyframes on the timeline, with a live stream such as sound or the pointer, or with an expression. Read The effect stack first if the cards and their rows are new to you; the timeline itself is Timeline & animation.
01What can be animated
Every number and every angle on an effect card — Amount, Radius, Height, Progress, Hue, Speed, Center X… Choices (Wave type, Mode), switches (Invert, Keep color) and colors cannot be animated: there is no in-between value for them, so they stay plain controls. Neither can a card's mute checkbox.
A layer can animate up to twelve effect parameters at once, across all of its effects. In practice two or three is the usual number; when the pool is full the panel tells you so and asks you to stop animating one first.
02Making a parameter animatable
Next to every number and angle on a card there is a small ⏱ button. Click it:
- The button lights up and the row gains the ◆ badge you know from every other property. The badges show in the Properties panel's Motion mode; in Design mode a badge appears once the parameter has a keyframe, a stream or an expose.
- The parameter becomes a lane on the timeline. It keeps its current value — nothing moves yet.
That is all the ⏱ does: it turns the parameter into a real property. From here on the parameter behaves exactly like Opacity or Rotation — keyframes, easing, the graph editor, the halo, expose, all of it.
Click ⏱ again to stop animating. The parameter goes back to being a plain number, holding whatever value it had at that moment, and its slot is freed.

03Keyframes
Once a parameter has its badge, animating it is the same three-step loop as everywhere else:
- Put the playhead where the pose belongs.
- Set the value on the card.
- Click the ◆ badge to record it.
Do it twice and the effect moves between the two values. In the dopesheet the lane is named after the effect and the parameter — Glitch · Amount, Wave warp · Height — so a layer with several effects stays readable. Select a keyframe to set its feel on the easing bar in the timeline header; right-click it in Curves for the full list, or shape the curve by hand there (Easing).

Things that work well as keyframes:
- Progress on Page curl and Radial wipe — both are transitions waiting for a 0 → 1.
- Speed on any clocked effect — a Glitch that flares up and calms down, a Wave warp that comes to rest.
- Radius on Box blur or Blur on Depth of field — focus pulls.
- Intensity on Bloom — a light that breathes.
- Mix on anything — the cleanest fade-in for an effect that has no single "amount".
04Streams — sound, pointer, scroll
A stream is a value that updates every frame — an audio band, the pointer's position, how far the artboard has scrolled. Driving an effect parameter from one takes two steps:
- Expose the parameter. With ⏱ on, right-click the ◆ badge and choose ● Expose. The badge turns green and the parameter now has a name the rest of the tool can find.
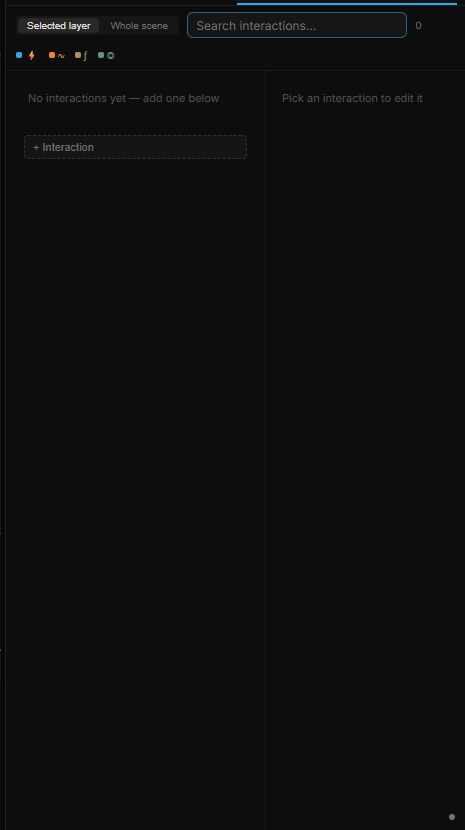
- Connect a stream to it. Open Sentences, add a Custom… interaction, pick ∿ Stream, choose a source — Audio with a band (Bass, Level, Beat…), Mouse X / Y across artboard, Scroll progress, a Variable — and as the target pick this layer's property from the Exposed group.
The stream's natural range is mapped onto the parameter for you when you connect it, and the Transform chain on the connection lets you refine it: Map Range to decide how much of the parameter's range the stream should cover, Smooth to take the jitter out of audio, Spring for a bouncy response. The full list of sources and stages is in Streams & variables.
The last recipe on Effect recipes does this end to end with Bloom and the beat.
05Expressions
The stream sources include Custom expression — a formula written by hand instead of picked from the list. Use it when one source is not enough: the sum of two audio bands, a value that flips sign every bar, a parameter that follows another layer's rotation. It connects to an exposed effect parameter exactly like any other stream, through the same builder.
06Where the value comes from
Once a parameter is animated, the card's number field shows the live value — what the keyframes, the stream or the expression are writing this frame — and the badge tells you who is writing it: ◆ a keyframe at the playhead, ∿ a stream, ● exposed, ⚠ two writers fighting. Dragging the field still works; it writes to the lane, exactly as it would for Opacity, so while a stream is connected the stream wins the next frame.
07Shortcut recap
| ⏱ | make a parameter animatable / stop animating it (keeps the current value) |
| ◆ badge | click = keyframe at the playhead · right-click = Expose, keyframe actions |
| Lane name | Effect · Parameter in the dopesheet |
| Stream | expose the parameter, then Sentences › Custom… › ∿ Stream › target under Exposed |