OmniMotion ships fifty effects in five families — Color, Blur, Distort, Stylize and Light. Every one of them can sit in two places: on a layer, where it changes only that layer's pixels, or on an Effect Layer, where it changes everything drawn beneath it. This page is about that choice. The stack itself — adding, ordering, muting, parameters — is The effect stack.
01Two places an effect can live
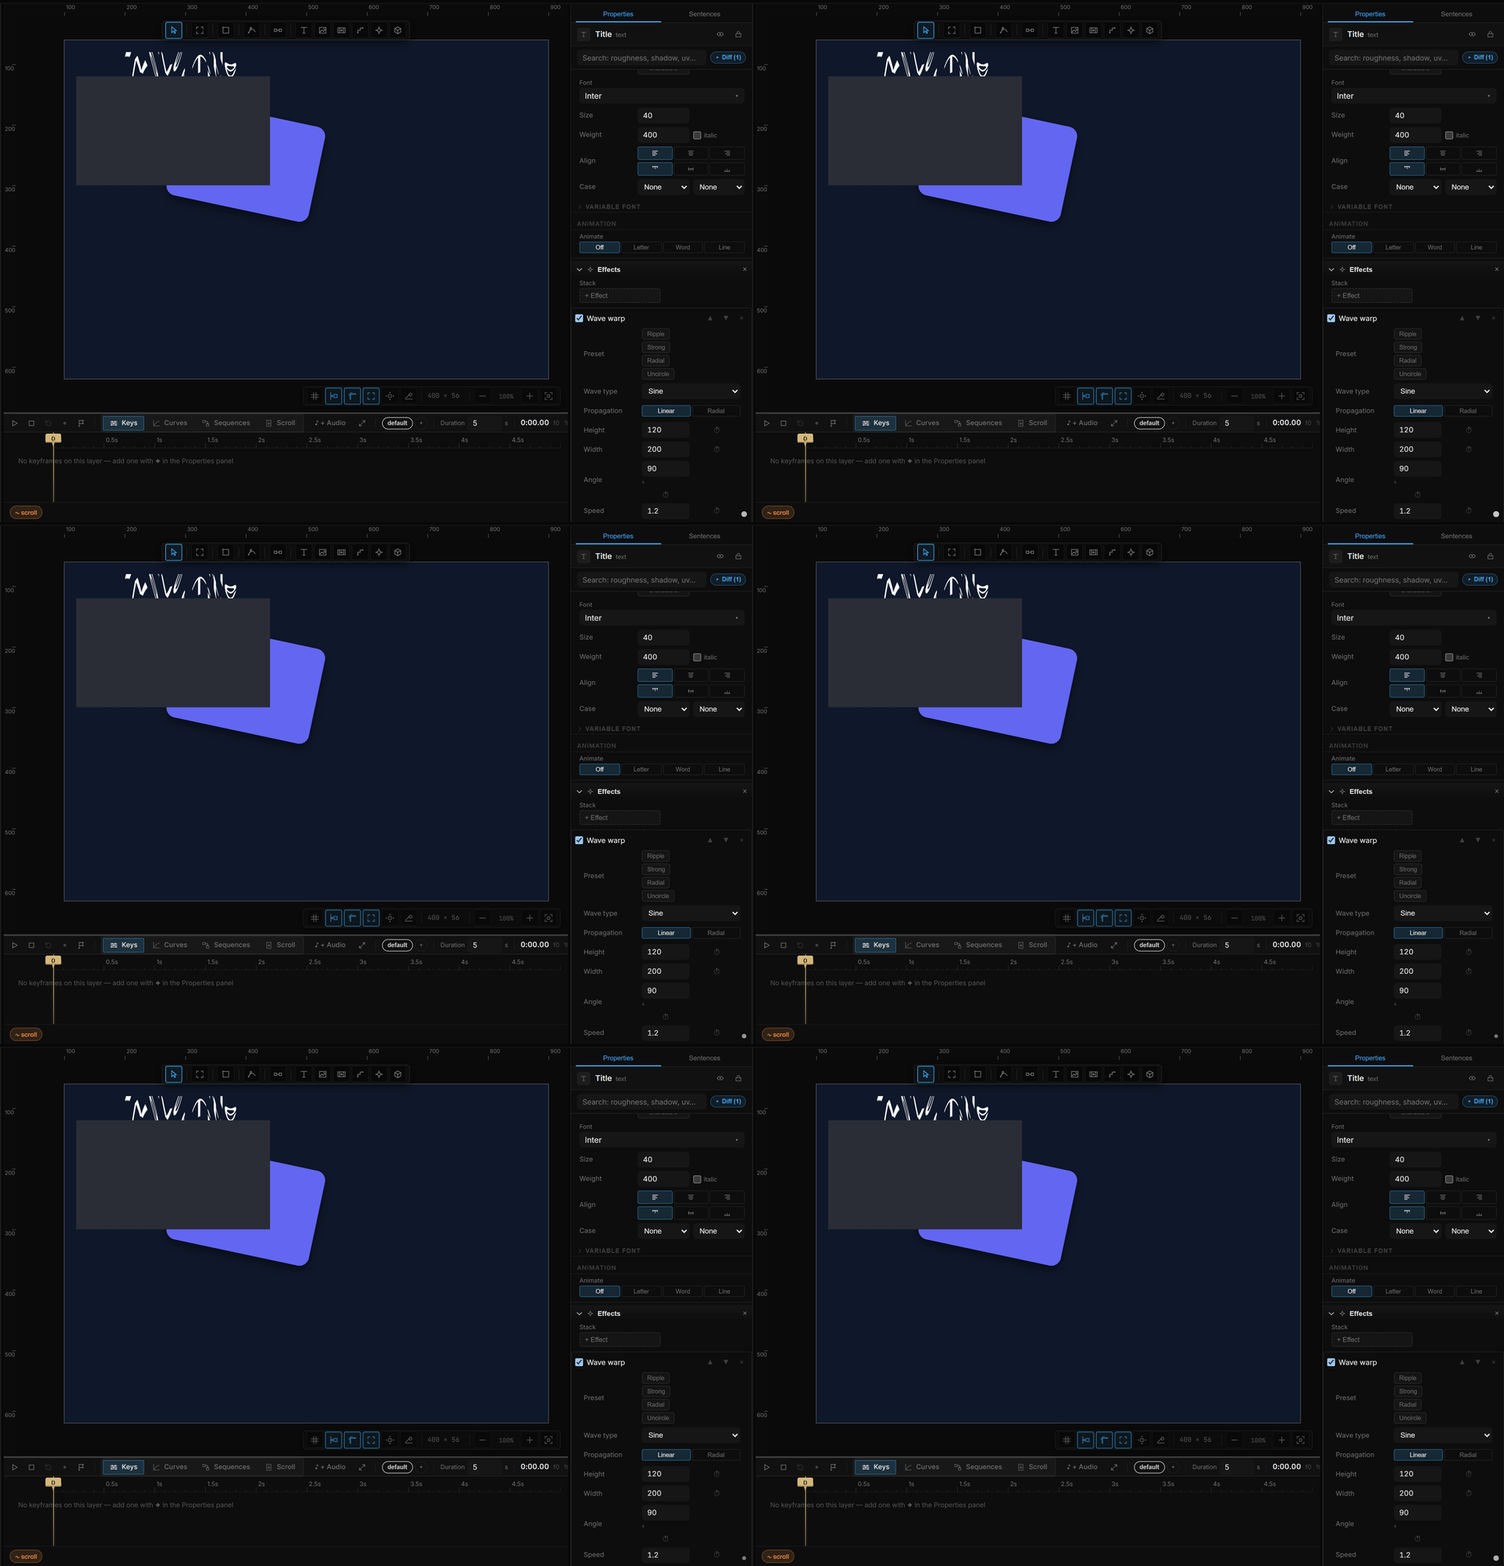
| On a layer | On an Effect Layer | |
|---|---|---|
| What gets processed | The layer's own pixels — its fill, stroke, text, image | Everything drawn below it, inside its box |
| What is untouched | Everything else, including the layer's children | Layers above it, and its own children |
| How you add it | Select the layer › + Add › Effects | Draw one with the Effect layer tool (Shift+E); its Effects section is always there |
| Extra controls | — | Region (Rect / Ellipse) and Feather |
| Typical use | A glitching title, a glass card, a blurred photo | A film look over a whole composition, a kaleidoscope of several shapes |
Both places use exactly the same stack, the same catalog and the same parameters, so nothing you learn on one is lost on the other.
02On a layer
Add Effects from + Add and the section appears with an empty stack. Everything in the stack applies to that layer's own picture and stops there:
- Children are not included. A group or an artboard with effects processes only what it draws itself; the layers inside it are drawn afterwards, untouched. If you want the whole composition to go through an effect, that is what the Effect Layer is for.
- A mask is applied after the effects. On a masked layer the content passes through the stack first, then the mask cuts the result — so you can blur or warp a layer and still keep a clean edge.
- Drop Shadow follows the result. A shadow is cast by the effected pixels, not the original shape.
- Transform is free. Rotate or scale the layer and the effect rotates and scales with it.
03The Effect Layer
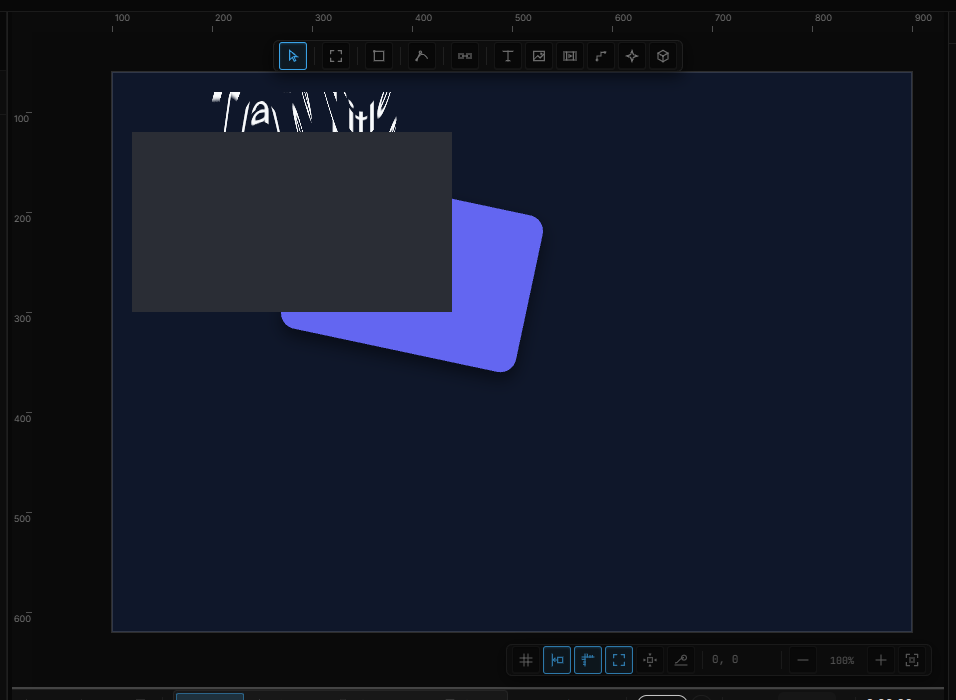
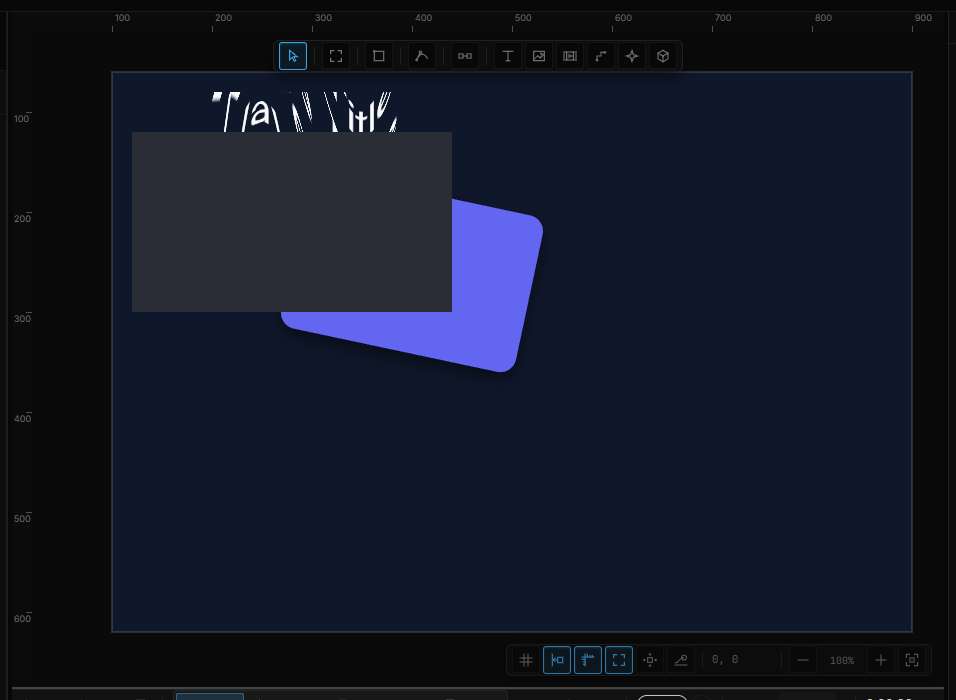
Pick the Effect layer tool from the draw toolbar (Shift+E), then drag a box on the canvas, or click once for a default size. The new layer has no picture of its own: it takes everything that has already been drawn inside its box — every layer beneath it in the layer list — runs it through its stack, and writes the result back.
| Before | With a Kaleidoscope on an Effect Layer above the composition |
|---|---|
 |  |
Three things are specific to it:
- Region — Rect processes the whole box; Ellipse processes an ellipse inside it (a circle when the box is square). The rest of the box is left as it was.
- Feather — a soft edge, in pixels, between the processed area and the untouched picture. Feather is a normal property with a ◆ badge, so it can be keyframed or bound: a spotlight that opens as you scroll is Feather driven by scroll.
- Order and size are the whole story. Move the layer down the list and fewer layers are beneath it; make it smaller and it affects a smaller area. Anything above it in the list, and any child you put inside it, is drawn on top and never touched.
04Which one to pick
- One thing should look different — the title glitches, the photo is blurred, the button is a glass pane: put the effect on the layer.
- Everything should look different — film grain, a vignette, a color grade, a CRT frame over the whole scene: use an Effect Layer the size of the artboard.
- A region should look different — a blur under a floating panel, a heat shimmer over one corner: use an Effect Layer the size of the region, with Ellipse and Feather if the edge should be soft.
- Several layers need the same effect, individually — each one gets its own stack. There is no copy-and-paste for stacks yet, and duplicating a layer with Ctrl+D does not carry its effects; if the layers sit together, one Effect Layer over the group is usually the faster route.
05The five families
All fifty effects, in the order the catalog shows them. Each family has its own reference page with every parameter, range and default.
| Family | Count | What is in it |
|---|---|---|
| Color | 7 | Color grade, Hue / saturation, Levels, Curves, Gradient map, Colorama, Sharpen |
| Blur | 4 | Box blur, Directional blur, Radial blur, Depth of field |
| Distort | 18 | Wave warp, Page curl, Mouse field, Chromatic aberration, Lens distortion, Kaleidoscope, Mirror, UV warp, Turbulent displace, Ripple shock, Heat mirage, Zigzag shear, Pixel stretch, Tile scroll, Isometric, Feedback tunnel, Cylinder wrap, Perspective 3D |
| Stylize | 15 | Posterize, Dither, Pixelate, Tile, Halftone, Engraving, CRT screen, VHS, Film grain, Glitch, Datamosh blocks, Glass, Pixel sort, Metaball, ASCII |
| Light | 6 | Vignette, Bloom, Halation, Neon edge, Radial wipe, Lens flare |
Fourteen of them move by themselves — they carry a clock, a Speed and a Motion row (see The effect clock). One, Mouse field, follows the pointer. Everything else is still until you animate a parameter, which is Animating effects. Four ready-made looks are on Effect recipes.
06Shortcut recap
| Effect layer tool | Shift+E · drag a box, or click for the default size |
| Effects on a layer | + Add › Effects › + Effect |