How a layer looks: the Appearance section, plus the abilities that change how it composites — Drop Shadow, Layer Blur, Background Blur, Mask and Blend. For the panel itself (scrubbing, badges, + Add) see Properties & styling.
Everything on this page works on several layers at once: select them all and change the value once. Where they differ, the field reads Mixed.
01Quick tour
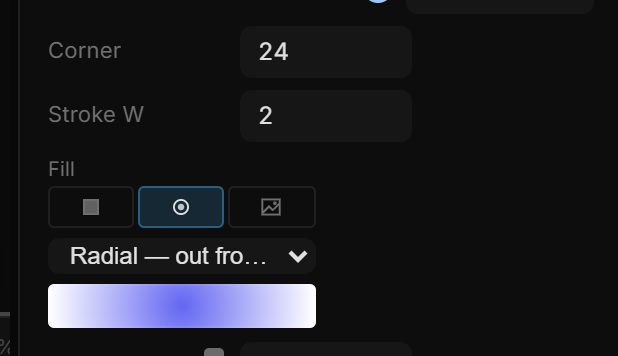
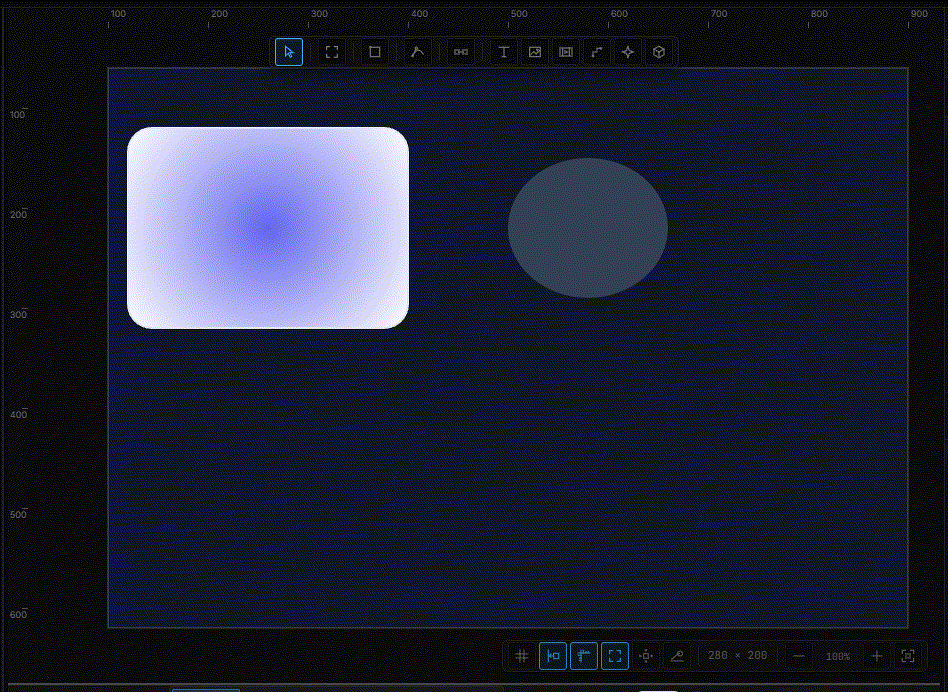
- Draw a rectangle. In Appearance, pick the gradient option in the Fill widget and choose Radial — out from a centre.
- Set Stroke W to 2 — the stroke rows appear. Set Align to Inside.
- + Add → Drop Shadow, then + Add → Blend → Multiply.
02Fill
The Fill row is a four-way switch — none, solid, gradient, image — followed by the controls for the one you chose. On text layers the row is called Color and has no "none".
| Fill | Controls |
|---|---|
| None | Nothing is filled — only the stroke and shadow are drawn. Picking a color later turns the fill back on |
| Solid | A color. Under it, a theme token when the theme has color tokens — the fill then follows the token; picking a color by hand unbinds it |
| Gradient | The kind (Linear — along a line, Radial — out from a centre, Angular — sweeps around, Diamond — square corners), a preview strip, and the gradient rows below |
| Image | File (library, dropped file or URL), then the Zoom / Position crop from Images & video |
The switch remembers the last gradient kind you used, so hopping to solid and back doesn't lose a diamond. New groups start with no fill.
Gradient rows
| Row | Which kinds | What it does |
|---|---|---|
| Angle | Linear | Direction in degrees, around the center. ⇆ reverses the stops |
| Radius % / Size % | Radial / Angular, Diamond | How far the gradient reaches, as a percentage of the box. ⌖ puts the center back in the middle |
| Angle | Radial, Angular, Diamond | Rotation around the center |
| Stops | all | One row per stop: position %, color, opacity %. − removes a stop (two must stay); + Stop adds one in the middle |
Every one of these also has a handle on the canvas — drag the ends of a linear gradient, or the center and axis handle of a centered one.
03Opacity and corners
- Opacity — 0 to 1, on every layer that draws. It comes right after the fill.
- Corners — on rectangles and groups: four fields, one per corner. They move together until you tick Each corner; then each corner is its own. Rectangles and frames also have a handle for it on the canvas: drag it to round all four corners together,
Alt+drag to round only that one. - Corner — on artboards and frames. A frame with rounded corners clips its children to that shape.
- Inner Radius — on ellipses, 0 to 0.95: anything above 0 cuts the middle out and turns the ellipse into a ring.
04Stroke
Stroke W is the gate: at 0 nothing else is shown. Raise it and you get:
| Row | What it does |
|---|---|
| Stroke | The stroke color and its opacity. Under it, a theme token when the theme has color tokens |
| Align | Where the stroke sits: Inside keeps it within the shape, like a CSS border — the box does not grow; Center straddles the edge (the default); Outside wraps around it |
| Cap / Join | Line ends — Butt, Round, Square — and corners — Miter, Round, Bevel |
| Arrows | Paths only: None, Arrow, Dot, Bar at each end of an open path |
| Dash (under ▸ More) | Dash length and gap. A gap of 0 uses the dash length |
| Dash Offset (under ▸ More) | Slides the dashes along the path — keyframe it for a marching-ants line |
Frames take a stroke too — a card or an input box gets its border right on the frame, no extra rectangle needed. With Inside, a rounded card and its border share one curve.
05Drop Shadow
+ Add → Drop Shadow turns on a shadow and gives it a section:
| Row | What it does |
|---|---|
| Style | A named effect style — see Text and effect styles |
| Offset | X and Y, in px |
| Blur | How soft the edge is |
| Shadow Opacity | 0–1 |
| Color | The shadow's color |
Offset, Blur and Shadow Opacity are properties — keyframe a shadow that grows on hover, or bind it to the pointer.
Several shadows, inner shadows
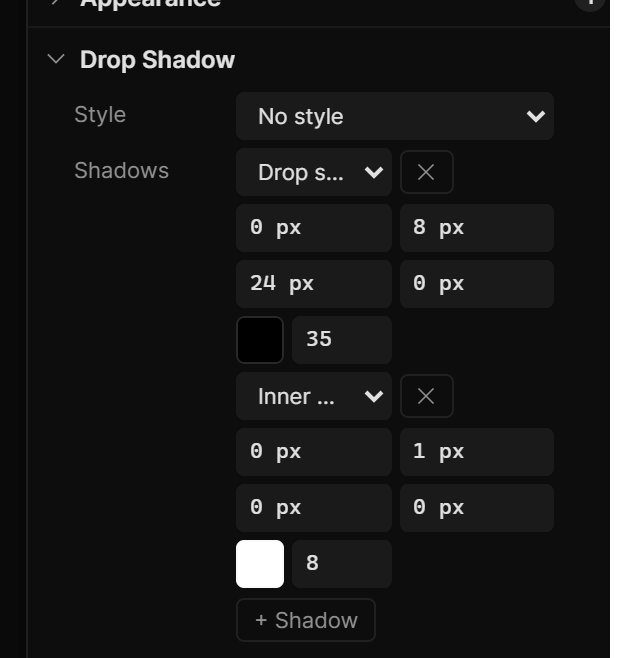
+ Shadow adds another shadow and turns the section into a list (the single shadow moves into it). Each shadow in Shadows has:
- Drop shadow or Inner shadow — outside the shape, or drawn inside it.
- X, Y, Blur and Spread — spread grows (or shrinks) the shadow before blurring.
- A color with its own opacity, and ✕ to remove it.
The first shadow is on top, as in CSS. A drag on any of these numbers is one undo step.
06Layer Blur and Background Blur
- + Add → Layer Blur blurs the layer itself, spilling past its box — a soft glow or an out-of-focus shape. One row: Blur in px (starts at 8).
- + Add → Background Blur blurs whatever is behind the layer, inside its shape — the frosted-glass panel. One row: Blur in px (starts at 16). Give the layer a semi-transparent fill so the blur reads.
Both are properties you can keyframe, and both travel with an effect style.
07Mask
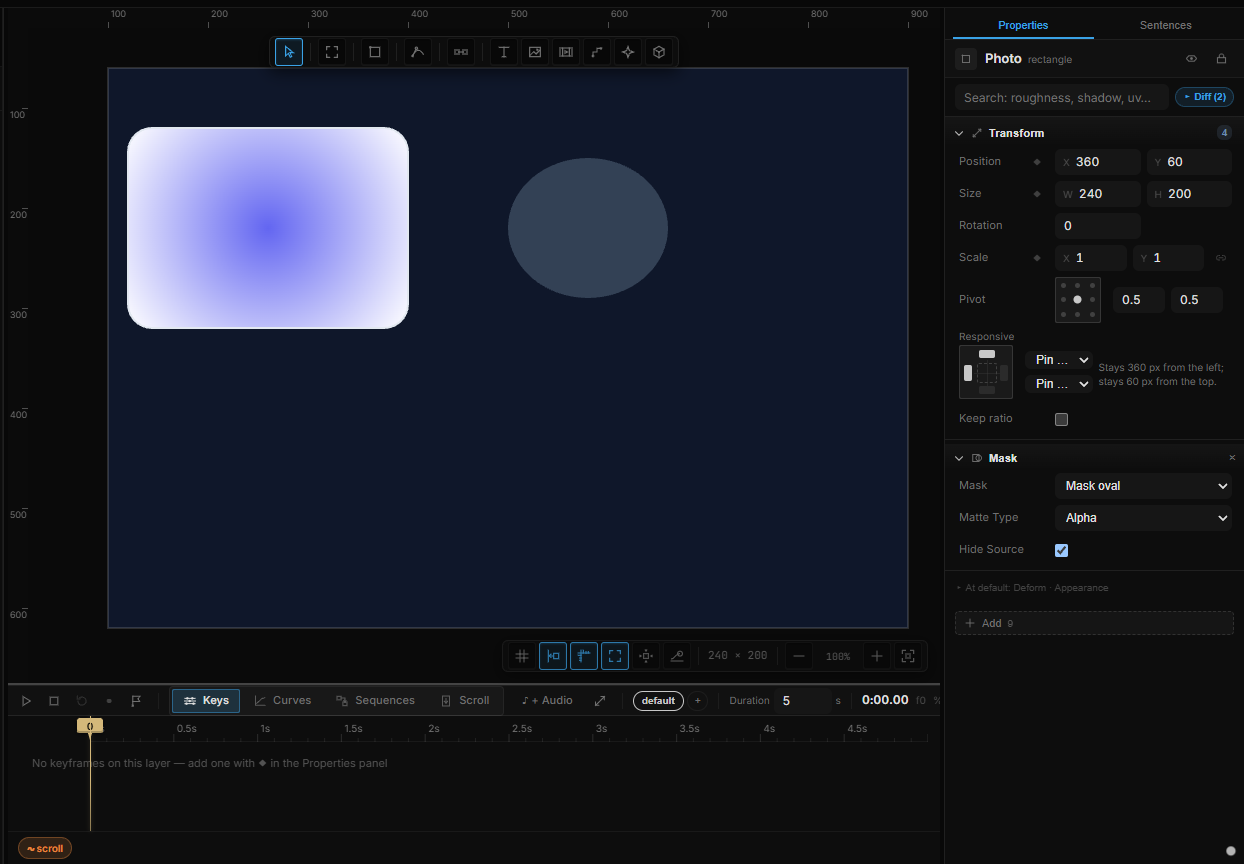
+ Add → Mask clips this layer with another layer. The other layer is the matte: where it is light or opaque, this layer shows; where it is dark or transparent, this layer is cut away. The matte stays a real layer in the tree — you move it, rotate it, keyframe it — unless Hide Source puts it to work without drawing it.
| Row | What it does |
|---|---|
| Mask | Which layer is the matte. None switches the clip off. The list is every other layer in the scene, by name |
| Matte Type | How the matte is read (table below) |
| Hide Source | Don't draw the mask layer itself — use it only as a matte |
Which matte type
| Type | Shows this layer where… | Typical matte |
|---|---|---|
| Luma | The mask is bright | A black-to-white gradient, a white shape on a dark artboard |
| Luma Inverted | The mask is dark | The same gradient, cutting a hole instead of revealing |
| Alpha | The mask is opaque | A shape, text, or a PNG with transparency |
| Alpha Inverted | The mask is transparent | A window cut out of a solid card |
Use Alpha when the mask is a drawn layer (rectangle, ellipse, text, a group). Use Luma when the mask is a photograph or a gradient and you want brightness to decide the edge.
Where the mask sits
The mask is read where it is. It is not stretched over the masked layer. Its own position, size and rotation on the canvas decide the reveal. Move the ellipse and the hole moves with it; rotate it and the cut rotates.
That is the wipe: keyframe the mask layer's X, Y, Rotation or Scale. The masked layer can stay still.
A mask can be any other layer — a shape, text, an image, a group, even another artboard. Name it before you pick it; the dropdown shows names.
Effects, then the cut
If the masked layer also has Effects, the stack runs first and the mask cuts the result. "A blur that lives only inside this circle" is one layer with both abilities: Effects on the photo, Mask pointing at the circle, Hide Source on.
The mask layer can have its own effects too. Soften its edge with a blur on the mask if you want a feather; the matte is read after that layer has drawn.
Recipes
Circle reveal. Photo selected → + Add › Mask → pick an ellipse over the photo → Matte Type: Alpha → Hide Source. Scale the ellipse from 0 to 1.
Gradient wipe. Draw a wide linear gradient (white to black) as the mask. Matte Type: Luma. Animate the gradient layer's X across the photo.
Type as a window. Text as the mask, Alpha, Hide Source. The photo shows only inside the letters. Outline the type with a stroke on a copy of the text if you still want the word readable.
Inverted hole. Same setup, Alpha Inverted — the photo fills the artboard and the shape punches through.
08Blend
+ Add → Blend mixes the layer with whatever is behind it. Mode offers the full set:
| Group | Modes |
|---|---|
| Darken | Multiply, Darken, Color Burn |
| Lighten | Screen, Lighten, Color Dodge, Lighter (Add) |
| Contrast | Overlay, Hard Light, Soft Light |
| Compare | Difference, Exclusion |
| Color | Hue, Saturation, Color, Luminosity |
| Compositing | Copy, XOR, Destination Over, Destination In, Destination Out, Destination Atop, Source In, Source Out, Source Atop |
Normal is the default. The × on the section switches the mode back to Normal.
09Copying a look
Copy properties (Ctrl+Alt+C) and Paste properties (Ctrl+Alt+V) carry fill, stroke, corners, opacity, blend, shadows and blurs (not the mask) from one layer to the whole selection, in one step. See Drawing & layers.