Visuals that react to sound
Bind size to bass, pulse an effect on the beat, drive a 3D light with the level.
In this tutorial you build three reactions on one song: a circle that swells with the bass, a glow that pulses on every beat, and a 3D light that breathes with the overall level. Every reaction is the same move — bind a property to an Audio band with the ∿ badge — so by the third one you will be inventing your own. You should know your way around the Properties panel and have read Timeline audio, microphone & analysis.
You need: an artboard with an ellipse and a text layer, a 3D scene with one light in it, and a music file with a clear beat.
01Put the song on the timeline
- Drop the music file onto the Files tab.
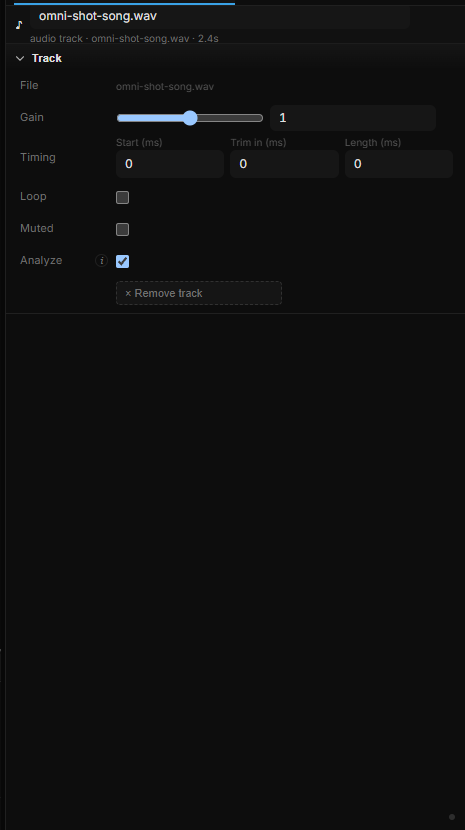
- In the timeline, click ♪ + Audio and pick the file. The clip appears in the Keys view and its Track settings open on the right. Leave Analyze on — it is on by default.
- Press Space. Open Audio in the top bar: the meters move, the beat dot flashes, and Timeline audio reads 1/1 clip · live.
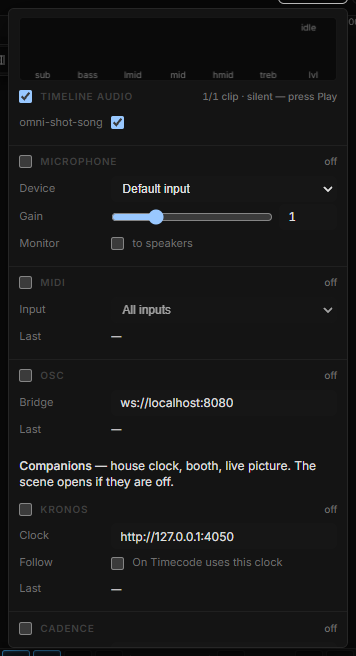
Keep the song playing for the rest of the tutorial — the analysis only runs while a clip plays.
02Reaction one: size follows the bass
- Select the ellipse. In Properties › Transform, find the Scale row and right-click the badge next to X.
- Choose ∿ Add binding…. A bar opens under the row. Set the source to Audio and the Band to Bass (60–250 Hz).
The live readout at the end of the bar shows the value being written right now. The tool has already added one step to the Transform chain for you: Map Range, from the band's 0–1 to 0.8–1.2, clamped — so the circle moves at once instead of collapsing to zero.
- Open the chain and change the output range to 1 → 1.5. Now the circle rests at its drawn size and swells half again on a kick.
- Add a Smooth step after Map Range with a small time (0.05 s) if the movement looks jittery. The bass band is fast; smoothing turns a flicker into a breath.
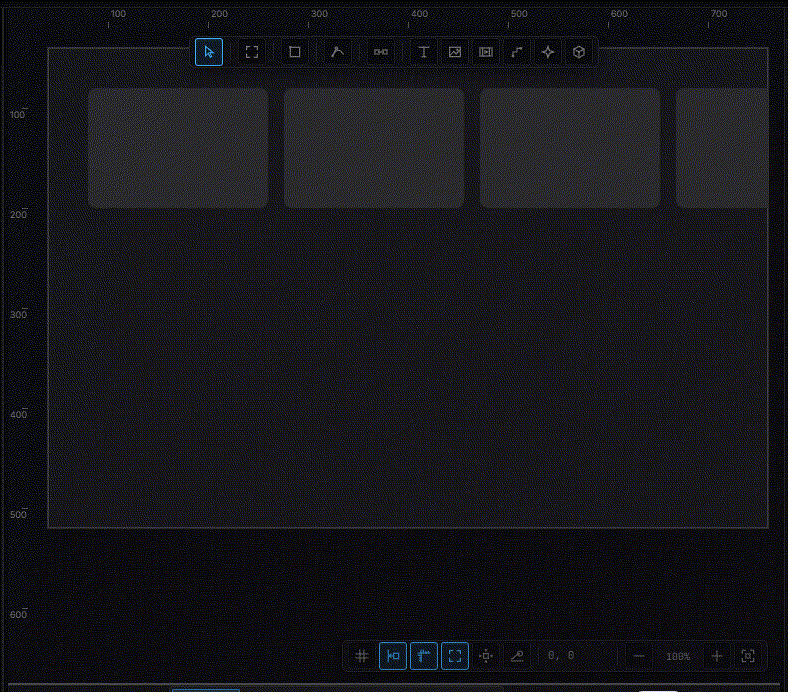
- Do the same for Scale › Y: bind, Audio › Bass, same range. The badge on both axes now shows ∿.
03Reaction two: a glow that pulses on the beat
- Select the text layer. In Properties, add Effects if it is not there yet, click + Effect and pick Bloom from the light group. Set Threshold low enough that the letters glow at rest.
- Effect parameters are plain numbers until you make them animatable. Click the ⏱ button on the Intensity row — a badge appears next to it, the same badge every property has.
- Right-click that badge, ∿ Add binding…, source Audio, band Beat (pulse 1→0).
Beat is not a level: it jumps to 1 on each detected beat and falls back to 0 in about a fifth of a second. Bound to Intensity that is exactly a pulse.
- In the Transform chain, set Map Range to 0.8 → 3: the glow rests at 0.8 and flares to 3 on the beat, then falls back by itself. No easing to set — the pulse has its own shape.
If the flashes come too often or miss, this is not a binding problem: open Audio › Analysis · master and move Beat sens. — higher fires only on the strong hits.
04Reaction three: a 3D light breathes with the level
- Select the light inside your 3D scene — click it on the canvas or in the layer list. Its Light section shows Type, Color and an Intensity row with a badge.
- Right-click the badge, ∿ Add binding…, Audio, band Level (RMS).
- The chain's Map Range lands on the property's full range, which is far too wide for a lit scene. Note your light's current Intensity, then set the output range from a little under it to three or four times it — for a light at 3, try 2 → 10.
- Add Smooth with 0.1–0.2 s. Level is the overall loudness, and a light that follows it slowly reads as breathing rather than flickering.
05The result
Press Preview in the top bar to see all three in the player, where the scene runs for real. Three properties, three bands, one gesture each:
| Reaction | Property | Band | Chain |
|---|---|---|---|
| Swell | Scale X / Y | Bass (60–250 Hz) | Map Range 1 → 1.5, Smooth 0.05 s |
| Pulse | Bloom › Intensity | Beat (pulse 1→0) | Map Range 0.8 → 3 |
| Breathe | Light › Intensity | Level (RMS) | Map Range 2 → 10, Smooth 0.15 s |
Two things to try next. Open Audio, switch on the Microphone and hum: the same three bindings react to the room — the scene never knew where the sound came from. And set the clip to Muted in its Track settings: the visuals keep their timing while the audience hears nothing, which is how you ship a silent piece that was designed to a track.
06Shortcut recap
| Space | Play the timeline — the analysis runs only while a clip plays |
| Right-click a badge | ∿ Add binding… / Edit binding… / Remove binding |
| ⏱ on an effect parameter | Make it animatable — it gains a badge |